At some point you’ll want to make your own junk journal from scratch, your own papers, your own size, your own cover. And that’s where a lot of beginners freeze, because “binding” sounds like something that needs special tools, a steady hand and a class.
Good news: it really doesn’t. Here are five ways to bind a junk journal, from the absolute easiest to the slightly fancier, each written as steps you can follow right now. Pick whichever one makes you feel calm.
In a hurry? If this is your first handmade journal, use the stapler method. It takes two minutes, needs nothing you don’t own, and produces a perfectly good book. You can learn the pretty stitches later.
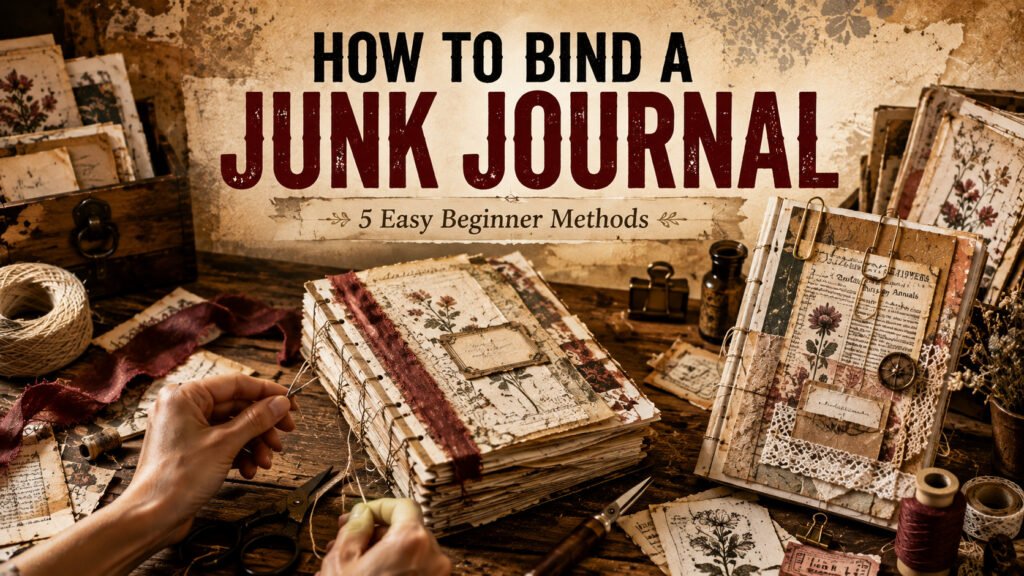
Two words to know before you start
Every binding tutorial uses these, so let’s get them out of the way.
A signature is a small stack of pages folded in half together. That’s all it is, nothing to do with your handwriting. Most junk journals are made of several signatures bound into one cover.
The spine is the folded edge where everything is held together. When people talk about binding, they mean “what happens along the spine”.
One rule that saves beginners a lot of grief: keep each signature to 4–6 sheets of paper. Fold more than that and the inner pages stick out further than the outer ones, the fold won’t sit flat, and sewing becomes a fight. Want a thick journal? Make several small signatures rather than one fat one.
Method 1: The stapler (easiest of all)
You’ll need: paper and a stapler. Truly nothing else.
- Take 4–5 sheets of paper and stack them neatly.
- Fold the stack in half and run your thumbnail firmly along the fold to crease it.
- Open the stack back out and lay it flat, fold line facing up.
- Staple along the fold line, one staple in the middle, and one about 3cm from each end.
- Fold it closed again. You’ve made a booklet.
If your stapler won’t reach the middle: most home staplers open out flat. Swing the base around so the arm is free, lay your paper on a folded towel or a cork mat, and staple downwards, the staple legs will press into the soft surface. Then flip the booklet over and press the legs flat with your thumbnail.
Best for: your very first handmade journal, or quick little booklets to slip inside a bigger one.
Method 2: Ribbon or elastic (no tools at all)
You’ll need: folded paper and a ribbon, elastic, or even a rubber band.
- Fold 4–6 sheets in half to make a signature, and crease well.
- Open it to the centre spread.
- Lay your ribbon along the inside of the fold, running top to bottom.
- Bring both ends of the ribbon out over the top and bottom edges of the spine, round to the outside.
- Tie them together in a bow on the outside of the spine.
To bind several signatures this way, stack them together and run one longer ribbon through the whole lot before tying.
The lovely thing about this method is that it’s completely reversible, untie the bow and you can add pages, remove pages, or reorder the whole book whenever you like.
Best for: people who aren’t sure yet how many pages they want, and anyone who likes a pretty spine.
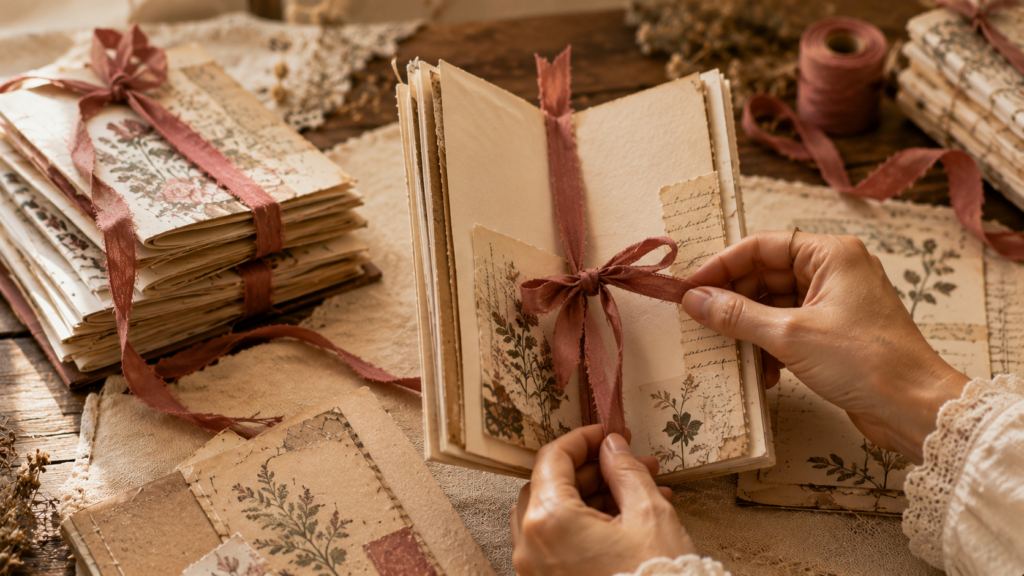
Method 3: Hole punch and rings
You’ll need: a hole punch, and binder rings, book rings, or loops of ribbon.
- Don’t fold anything, this method uses flat single pages.
- Stack your pages and tap them against the table so one edge is perfectly even.
- Punch two or three holes down that edge, about 2cm in from the side. Punch a few sheets at a time so the holes line up.
- Thread the rings through the holes and click them shut.
Make it last: punched holes tear out surprisingly quickly once a journal gets used. Stick a small square of washi tape or a scrap of card over each hole spot before you punch, and the reinforced hole will survive years of flipping.
Best for: journals you want to open completely flat, and anyone who enjoys shuffling their pages around.
Method 4: The pamphlet stitch (your first real bookbinding stitch)
This is the one that sounds intimidating and genuinely isn’t. It takes about ten minutes, uses one length of thread, and gives you a neat, sturdy spine that feels properly handmade.
You’ll need: a needle, thread or embroidery floss, and something to make holes, an awl, a thick tapestry needle, or even a pushpin.
Step 1: Fold and mark your holes
Fold 4–6 sheets into a signature and crease firmly. Open it to the centre spread so you’re looking at the inside of the fold.
Mark three dots along the fold line: one exactly in the middle, and one about 2.5cm (1 inch) in from the top edge and another 2.5cm in from the bottom edge.
Step 2: Make the holes
Open the signature flat over a folded towel, a cork mat, or a stack of old newspaper. Push your awl or pushpin through each dot, from the inside out. Wiggle gently rather than forcing, you want a small neat hole, not a tear.
Step 3: Cut your thread
Cut a length of thread about three times the height of your journal. For a typical A5 journal that’s roughly 60cm. Too much is far better than too little, running out halfway is the one genuinely annoying thing that can happen here.
Step 4: Sew it (five moves)
- From inside the centre spread, push the needle out through the middle hole. Leave a 10cm tail hanging on the inside — don’t pull it through.
- From the outside, go back in through the top hole. Your needle is now inside again.
- Inside, run the thread down past the middle hole and out through the bottom hole.
- From the outside, come back in through the middle hole one last time.
- You’re now inside, with the working thread on one side of the long stitch and your 10cm tail on the other. Tie the two ends together in a double knot around that long stitch, snug it tight, and trim to about 2cm.
That’s it. The knot sits neatly in the centre of the spine, hidden inside the book.
Want a thicker journal? Make three or four signatures, pamphlet stitch each one separately, then glue their spines side by side onto a strip of fabric or kraft paper. Wrap that strip inside a folded cover and you have a multi-signature book, without learning a single extra stitch.
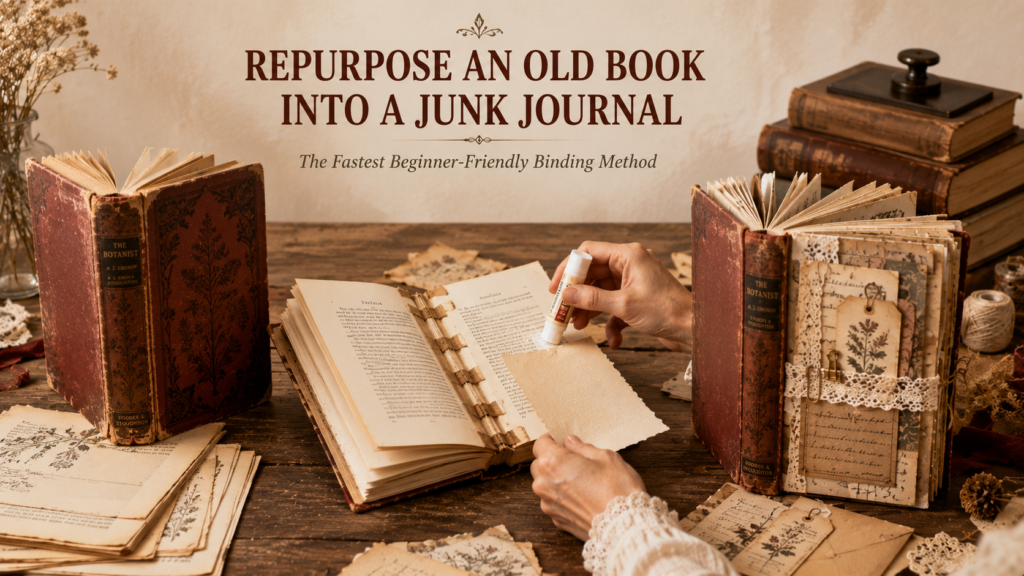
Method 5: The repurposed book (fastest of all)
You’ll need: an old hardback book you don’t mind altering, and a glue stick.
- Choose a hardback with a cover you like. Charity shops sell damaged ones for very little.
- Open it about a third of the way in and tear out pages in small batches, grip near the spine and pull steadily. Leave every 3rd or 4th page in place.
- Those remaining pages are your stubs. They’re what you’ll glue your own papers onto, and they’re the reason the book won’t bulge.
- Glue your own papers, pockets and scraps onto the stubs.
- Leave the book closed under something heavy overnight so it settles flat.
The existing cover and spine do all the binding work, you just decorate. It’s a favorite shortcut for very good reasons.
One caution: only ever alter books that are already damaged or genuinely unwanted. No sacrificing readable books in this house.
Which method should you choose?
| Method | Time | Tools | Add pages later? | Best for |
| Stapler | 2 min | Stapler | No | Your very first journal |
| Ribbon | 3 min | None | Yes | Undecided page counts |
| Rings | 10 min | Hole punch | Yes | Rearranging pages |
| Pamphlet stitch | 10 min | Needle, awl | No | A properly handmade feel |
| Altered book | 20 min | Glue stick | Yes | Skipping binding entirely |
If you’re brand new, start with the stapler or ribbon method. There’s no prize for the hardest binding, the best one is simply the one that gets you making pages today.
Three problems beginners hit (and the fixes)
The inner pages stick out past the outer ones. Your signature has too many sheets. Either drop to 4–5 sheets, or trim the fore-edge: close the folded signature, lay a ruler along the open edge, and trim the overhang with a craft knife.
The spine won’t lie flat and the book keeps springing open. The fold wasn’t creased hard enough. Run a bone folder, or the back of a spoon, which works just as well, firmly along every fold before binding.
The thread keeps pulling through and tearing the holes. Your holes are too big or too close to the edge. Keep them at least 2cm from the top and bottom, and make them just big enough for the needle to pass through.
Frequently asked questions:
1- How many pages should a junk journal have?
Most handmade junk journals end up with 20–40 pages, made from four to six signatures. Start smaller than you think, a finished thin journal is far more satisfying than an ambitious thick one you never complete.
2- What kind of paper is best for the pages?
Anything you like, and mixing is encouraged. Plain printer paper, brown kraft, old book pages, envelopes and music sheets all work. Slightly heavier paper holds up better to glue and layering, but nothing here requires special stock.
3- Do I need an awl to make the holes?
No. A thick tapestry needle, a pushpin, or even a compass point works fine. Always push through onto a folded towel or cork mat so you don’t damage the table underneath.
4- What thread should I use for a pamphlet stitch?
Embroidery floss is ideal, it’s strong, cheap and comes in every colour. Waxed linen thread is the traditional choice and lasts longest. Ordinary sewing thread works but can cut into the paper over time, so double it up if that’s all you have.
5- Can I bind a junk journal without sewing at all?
Absolutely. Three of the five methods here involve no needle: stapler, ribbon and rings, plus the altered book. Plenty of people never sew a journal in their lives.
6- How do I add pages to a journal that’s already bound?
With ribbon or ring bindings, just untie or unclip and slot them in. With a stitched or stapled journal, glue new pages onto existing ones as tip-ins, a strip of glue along one edge only, so the new page still flips.
7- What can I use for the cover?
Cereal box card is the classic free option, covered with fabric or decorative paper. Old book covers, thin chipboard and heavy kraft card all work too. Cut it slightly larger than your pages so the edges are protected.
8- Why won’t my journal close properly once it’s full?
Because it’s full of lovely things, which is a good problem. Add a ribbon or elastic tie around the whole book. A bulging junk journal is a well-loved one, not a badly made one.
Just bind something today:
You don’t need the right tools, the right thread, or the right technique. Fold five sheets of paper, staple the fold, and you have a junk journal, a real one, with a spine and everything.
The fancy stitches will still be there in a month, when you actually want them. Right now, the only thing standing between you and a handmade book is one fold and three staples.
Once your book is bound, it’s time for the fun part: filling it. Give those fresh pages that soft vintage look with How to Age & Distress Paper, or start from the very beginning with How to Start a Junk Journal.
And a printed clipart makes a gorgeous cover centrepiece or first-page focal point, you’ll find sweet ready-to-print sets in our Etsy shop. ♡
Our Etsy shop is full of adorable printable cliparts — birthday boys & girls, sweet animals, summer and spring themes — designed to print at home and layer straight into your journal.
Browse the Clipart Shop ↗
Leave a Reply