Starting a junk journal can feel exciting, but if you’re new, it can also feel a little overwhelming.
Maybe you’ve watched beautiful junk journaling videos on Pinterest or YouTube and wondered, “Where do I even begin?” Or perhaps you’ve already collected old papers, receipts, and stickers but aren’t sure how to turn them into something beautiful.
The good news? You don’t need artistic skills, expensive supplies, or a perfect plan.
Junk journaling is all about creativity, self-expression, and making something meaningful from everyday materials. In this guide, you’ll learn exactly how to start a junk journal, one simple step at a time.
What Is a Junk Journal?
Before you begin, it’s helpful to understand what makes a junk journal unique.
A junk journal is a handmade journal filled with recycled papers, decorative elements, writing, memories, and creative layers. Unlike a traditional notebook, there are no rules about how it should look.
You can include:
- Old book pages
- Scrap paper
- Vintage ephemera
- Magazine cutouts
- Envelopes
- Photos
- Stickers
- Washi tape
- Fabric scraps
- Personal notes
Every junk journal reflects its creator’s personality, making each one completely unique.
Step 1: Decide What You Want Your Journal to Be
Before collecting supplies, think about how you’d like to use your journal.
Ask yourself:
- Do I want to preserve memories?
- Am I creating art for relaxation?
- Do I enjoy vintage aesthetics?
- Will I write in it every day?
- Do I want a seasonal or travel-themed journal?
Having a simple purpose makes it much easier to choose colors, decorations, and page layouts later.
Remember, you can always change your style as you gain confidence.
Step 2: Choose Your Journal Base
One of the biggest beginner questions is:
“Do I need to buy a special journal?”
Not at all.
Many junk journal creators start with items they already have at home.
Some popular choices include:
- A blank notebook
- Mixed media journal
- Sketchbook
- Recycled hardcover book
- Handmade folded paper signatures
If this is your first journal, don’t worry about making one from scratch. A simple notebook lets you focus on learning the creative process instead of bookbinding.
Step 3: Gather Basic Supplies
The best part about junk journaling is that you don’t need a huge craft collection.
Start with a few essentials:
Papers
- Scrap paper
- Book pages
- Kraft paper
- Wrapping paper
- Envelopes
- Old letters
Adhesives
- Glue stick
- Double-sided tape
- Craft glue
Cutting Tools
- Scissors
- Paper trimmer (optional)
Decorative Items
- Washi tape
- Stickers
- Stamps
- Printed ephemera
- Ribbon
- Lace
Writing Tools
- Black pen
- Colored pens
- Brush pen (optional)
Collect supplies slowly. You don’t need everything on day one.
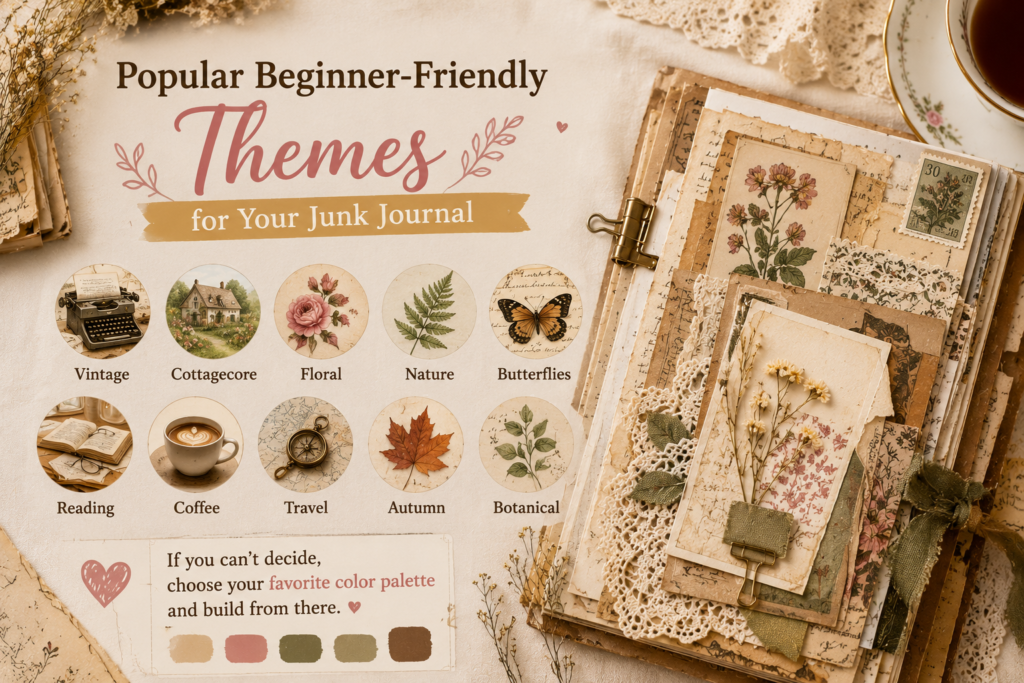
Step 4: Pick a Simple Theme
A theme gives your journal direction and helps your pages feel more cohesive.
Popular beginner-friendly themes include:
- Vintage
- Cottagecore
- Floral
- Nature
- Butterflies
- Reading
- Coffee
- Travel
- Autumn
- Botanical
If you can’t decide, choose your favorite color palette and build from there.
Step 5: Prepare Your Papers
Instead of decorating immediately, spend a little time organizing your materials.
Sort them by:
- Color
- Size
- Pattern
- Texture
You can also:
- Tear paper edges for a vintage look
- Tea dye paper
- Ink page edges
- Fold pages into pockets
- Trim oversized papers
Preparing materials beforehand makes creating pages much more enjoyable.
Step 6: Start with One Simple Page
Many beginners feel pressure to make every page look like something from Pinterest.
Don’t. Your first goal is simply to start.
A basic layout might include:
- A background paper
- One piece of decorative paper
- A sticker or label
- A short handwritten note
- A small embellishment
That’s enough. Simple pages often become the most meaningful ones.
Step 7: Add Layers Gradually
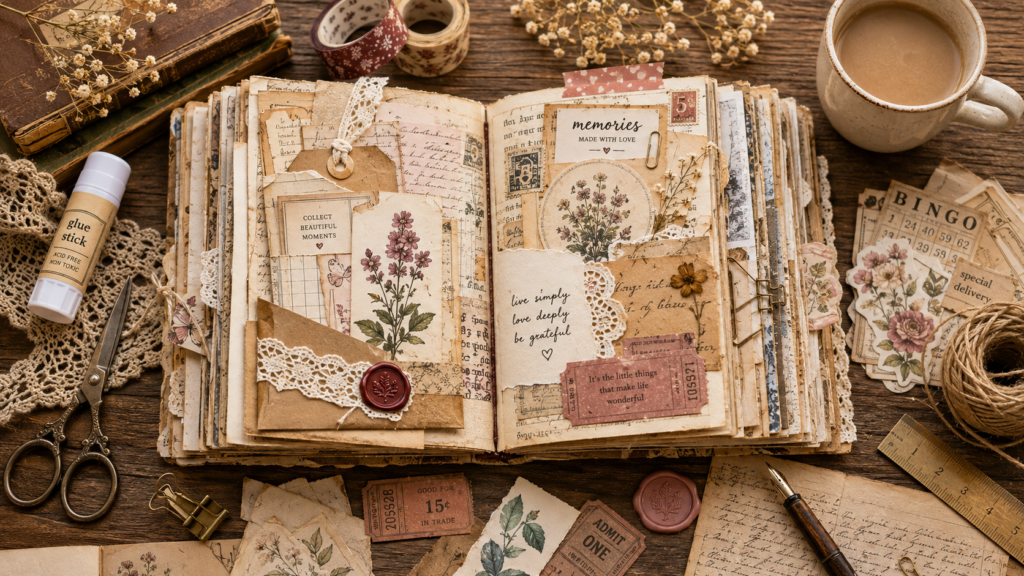
One thing you’ll notice about beautiful junk journals is the layering. Layers create texture and visual interest.
Try combining:
- Torn paper
- Music sheets
- Book pages
- Fabric
- Washi tape
- Labels
- Stamps
- Tickets
- Botanical prints
Don’t cover every inch of the page. Leaving white (or cream!) space helps your layouts feel balanced.
Step 8: Make It Personal
This is where your journal becomes more than just paper. Add things that matter to you:
- Favorite quotes
- Daily thoughts
- Photos
- Pressed flowers
- Letters
- Movie tickets
- Recipes
- Travel memories
- Gratitude lists
Years from now, these little details will tell your story.
Step 9: Accept Imperfection
This is the step many beginners skip, but it’s one of the most important. Not every page will turn out exactly as you imagined.
That’s okay.
Junk journaling isn’t about perfection. It’s about experimenting, learning, and enjoying the process.
Some of your favorite pages may come from happy accidents.
Common Beginner Mistakes to Avoid
Avoiding a few common mistakes can make your first journaling experience much more enjoyable.
1- Buying too many supplies
Start with what you already own. You can always expand your collection later.
2- Comparing yourself to experienced creators
Many online creators have been journaling for years. Focus on your own progress instead of comparing your first page to someone else’s hundredth.
3- Waiting for the “perfect” idea
Creativity grows through practice, not waiting.
4- Trying every trend at once
Find the techniques and styles you genuinely enjoy instead of following every trend you see online.
Beginner Tips That Make a Big Difference
- Keep a small box for saving interesting paper scraps.
- Take photos of layouts you love for inspiration, not comparison.
- Create a few pages each week instead of trying to finish an entire journal in one day.
- Experiment with different textures and colors.
- Remember that there are no strict rules in junk journaling.
The more you create, the more you’ll discover your own style.
Frequently Asked Questions
Can I start junk journaling without buying supplies?
Yes. Many beginners use recycled papers, magazines, envelopes, and notebooks they already have at home.
What is the best journal for beginners?
A blank notebook or mixed media journal is often the easiest place to start because you can focus on decorating instead of assembling the journal itself.
Do I have to know how to draw?
No. Junk journaling doesn’t require drawing skills. Layering papers, writing, and adding decorative elements are enough to create beautiful pages.
How long does it take to finish a junk journal?
There’s no timeline. Some people finish one in a few weeks, while others keep adding pages for months or even years.
Final Thoughts
Starting a junk journal doesn’t require perfect supplies or years of artistic experience. It simply begins with curiosity and a willingness to create.
Use what you already have, embrace imperfections, and let each page reflect your personality. Over time, you’ll discover techniques, themes, and layouts that feel uniquely yours.
Most importantly, remember that every experienced junk journal creator was once a beginner too. Your first page doesn’t have to be perfect, it just has to be the page that gets you started.
Our Etsy shop is full of adorable printable cliparts — birthday boys & girls, sweet animals, summer and spring themes — designed to print at home and layer straight into your journal.
Browse the Clipart Shop ↗
Leave a Reply