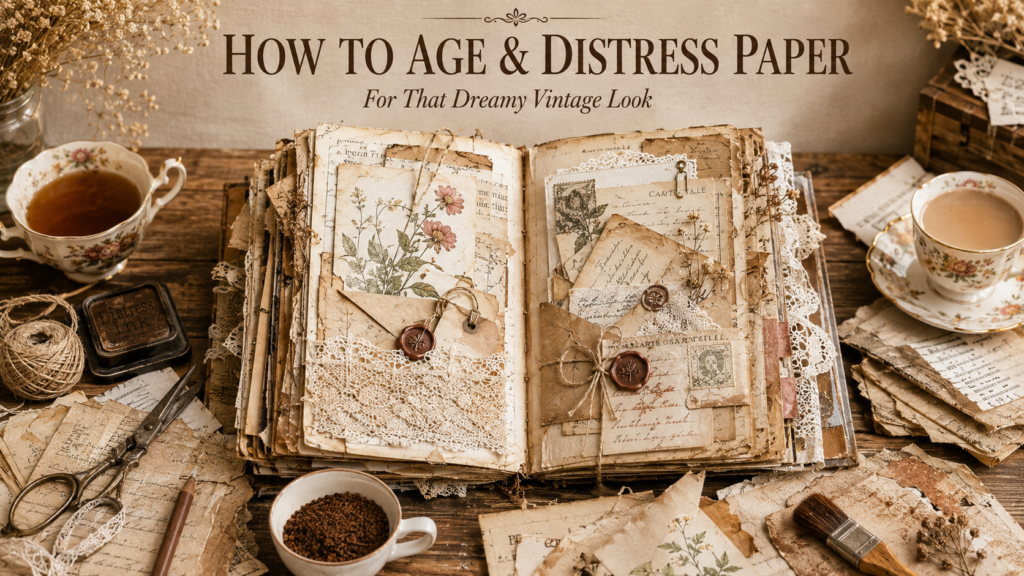
Okay, so you’ve made a page or two. You’ve torn some edges, glued some scraps, and you’re feeling pretty good about it, until you scroll past someone’s journal online and think: “Why does their paper look like it was found in a 100-year-old attic, and mine looks like… printer paper?”
Friend, I promise it’s not the paper. It’s not expensive supplies either. It’s one small step almost every beginner skips: aging it.
The good news is that aging paper costs almost nothing, takes minutes, and honestly it’s the most satisfying part of this whole hobby. Let me show you five ways to do it, starting with the one you can do in the next five seconds.
First: Why bother aging paper at all?
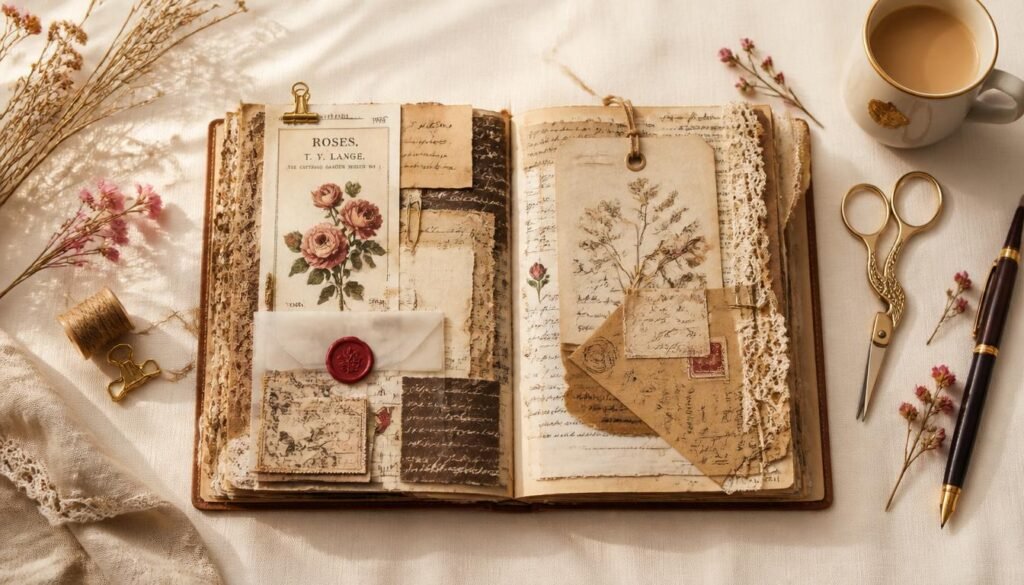
Fresh paper is flat. It’s bright white, it’s evenly coloured, and it has crisp machine-cut edges. Nothing about it says “story.”
Aged paper has variation, patches of colour, soft edges, little marks. Your eye reads that as history, and history is exactly the feeling junk journaling is chasing. Age one piece of paper and lay it next to a fresh one, and you’ll never go back. It’s a genuinely dramatic difference for almost zero money.
Method 1: Ink the edges (5 seconds, no drying):
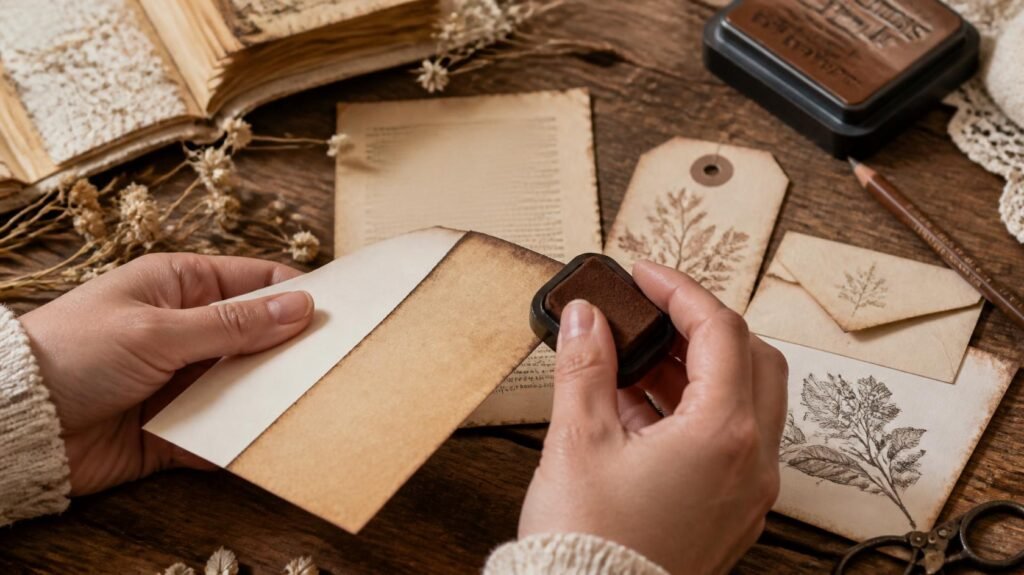
This is the one to try tonight. Take a brown or sepia ink pad, and gently swipe it along the edges of your paper, drag the pad across the edge rather than pressing the paper onto it.
That’s it. The edges darken, the middle stays light, and suddenly the piece looks worn and handled. It’s instant, there’s no drying time, and it works on absolutely everything: book pages, tags, envelopes, printed cliparts.
No ink pad? Rub a soft brown pencil along the edge, then smudge it with your fingertip. Genuinely works. I did this for months before I owned a single ink pad.
Method 2: Tea staining (soft, golden, beginner-proof):
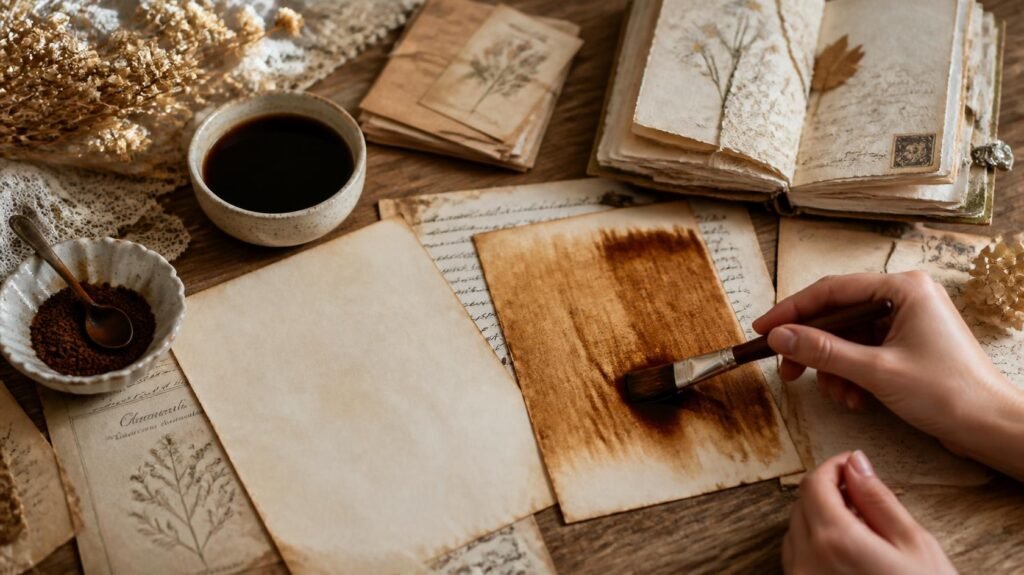
The classic. Tea gives a gentle golden tone that looks lovely under handwriting and doesn’t overpower your other papers.
- Brew 2–3 black tea bags in a mug of hot water. Make it strong, stronger than you’d drink.
- Let it cool a little (hot liquid tears thin paper).
- Lay your paper on a tray or baking sheet.
- Brush the tea on with a paintbrush, sponge, or the used tea bag itself. Uneven is good, blotches look authentic.
- Let it dry flat. Impatient? Iron it under a thin cloth on low heat.
Pro move: dab the wet paper with the used, slightly damp tea bag before it dries. Those darker random spots are exactly what real antique paper looks like.
Method 3: Coffee staining (deeper, warmer, faster)
Same process as tea, different mood. Coffee gives a richer, browner tone, think old parcel paper rather than soft parchment.
Use instant coffee for the most control: mix a spoonful with a little hot water. More coffee = darker paper. And here’s a small bonus nobody warns you about, your craft space will smell incredible.
Tea or coffee, how do I pick? Tea for soft, romantic, floral pages. Coffee for warm, earthy, rustic pages. When in doubt, do a few sheets of each, you’ll want both eventually.
Method 4: Crumple, flatten, and ink (instant old-map texture)
My favourite, because it takes about twenty seconds and looks like real work.
- Scrunch your paper into a tight ball. Yes, really. Be mean to it.
- Open it back up and smooth it flat with your hand.
- Lightly drag a brown ink pad across the surface, the ink catches only on the raised creases.
All those little crease lines suddenly show up as texture, exactly like a map that’s been folded in a pocket for years. Stunning on a background layer.
Method 5: Walnut ink (the one the pros use)
If you ever want to buy one aging product, make it walnut ink crystals. Here’s why it beats tea and coffee:
- The colour is a richer, more convincing antique brown
- It dries faster and wrinkles thin paper far less
- You control the strength, more crystals, darker wash
- One small pot lasts an absurdly long time
Nobody tells beginners this, so consider it a little gift: if your tea-stained pages ever look slightly “yellow” rather than “old,” walnut ink is the upgrade you’re looking for.
Quick comparison: Which method should you use?
| Method | Look | Time | Cost |
| Ink the edges | Worn, handled | 5 seconds | Almost free |
| Tea stain | Soft golden | Drying time | One tea bag |
| Coffee stain | Deep warm brown | Drying time | Pennies |
| Crumple + ink | Old map texture | 20 seconds | Almost free |
| Walnut ink | Rich antique | Fast drying | Small one-off buy |
3 small mistakes to avoid:
1- Staining everything the same shade
If every piece on your page is identical, the layers disappear into each other. Vary it — some pale, some deep. Contrast is what makes layers read as layers.
2- Soaking the paper:
Drowning your paper makes it pill, tear, and wrinkle badly. Brush or dab the colour on — you want it damp, not swimming.
3- Drying in a hurry:
Paper dries wavy. That’s normal and honestly part of the charm, but if you want it flat, press it under a heavy book overnight or iron it under a cloth.
Don’t forget: you can age printables too
This is the trick that ties everything together. Printed cliparts can look a little too crisp against your soft, aged pages, so age them the same way. Ink the cut edges, or give them a light tea wash before cutting.
Suddenly your printed pieces look like they belong in the journal instead of sitting on top of it. If you’d like cute ready-to-print sets to try this with, birthdays, animals, florals and more, they’re waiting in our Etsy shop.
Frequently asked questions:
1- Will tea-stained paper go mouldy or fade over time?
Not if it’s dried properly. Make sure paper is completely dry before you glue it into your journal, damp paper is the only real risk. Once dry, it’s perfectly stable.
2- Can I age paper without tea, coffee, or ink?
Absolutely. Crumpling and flattening adds texture on its own, and rubbing a brown pencil or even a little dry cocoa powder along the edges gives a soft aged tone. You genuinely don’t need to buy anything.
3- What kind of paper works best?
Thin, absorbent paper takes stain beautifully, old book pages, printer paper, tissue paper, brown paper bags. Glossy or coated paper resists liquid, so stick to edge-inking for those.
4- How long does aged paper take to dry?
Usually 20–60 minutes laid flat, depending on how wet it got. To speed it up, iron it under a thin cloth on low heat, or use a hairdryer on a cool setting.
Go make something old
Pick one method, honestly, just ink some edges tonight, and put it next to a fresh piece of paper. That little “oh!” moment is the whole reason I love this craft.
And once you’ve got a lovely pile of aged papers, you’ll want somewhere to put them. If you haven’t made your first page yet, start here: How to Start a Junk Journal: A Step-by-Step Guide. Brand new to all this? Begin with What Is Junk Journaling?
Now go be mean to some paper. ♡
Our Etsy shop is full of adorable printable cliparts — birthday boys & girls, sweet animals, summer and spring themes — designed to print at home and layer straight into your journal.
Browse the Clipart Shop ↗
Leave a Reply