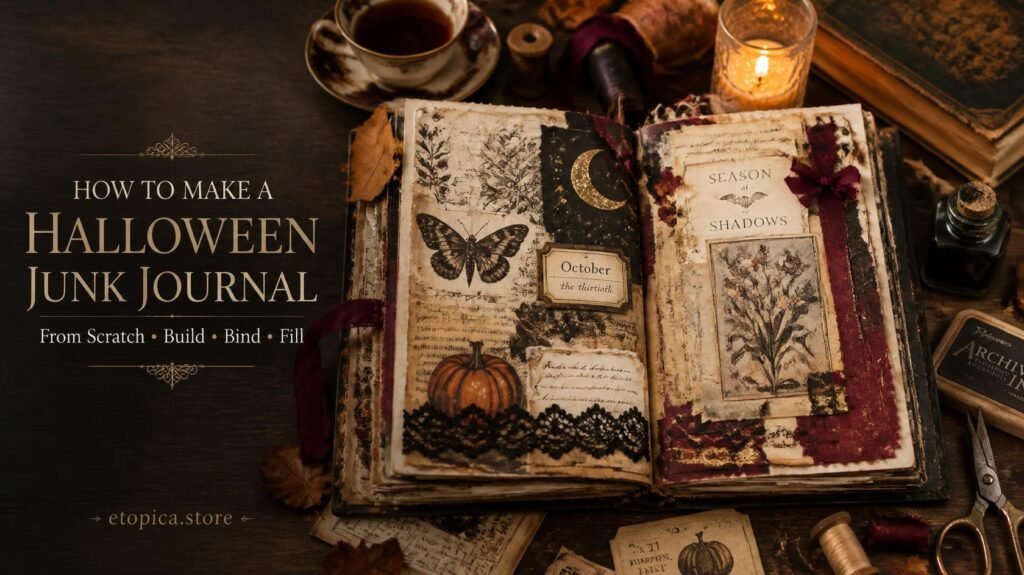
A single Halloween spread is lovely. A whole Halloween journal is something else, a small book you build in September, fill through October, and pull off the shelf every autumn for years.
It sounds like a big project. It genuinely isn’t. Here’s how to make a Halloween junk journal from scratch, from choosing a base right through to a plan for actually filling it before the month runs out.
The shortcut, if you want one: take an old damaged hardback, tear out two thirds of the pages, and glue your own papers onto what’s left. The cover and spine do all the structural work. You’ll have a Halloween journal in an evening.
First decide: how big, and how long?
Two decisions that save a lot of regret later.
Size: A5 (roughly 15 × 21cm) is the sweet spot. Big enough to layer properly, small enough to finish. A4 looks tempting and turns into a chore, every spread needs twice the material.
Length: ten to sixteen pages. That’s five to eight spreads, which is genuinely achievable across October at two or three a week. A forty-page journal will be abandoned half-empty by November, and half-empty journals have a way of putting people off the whole hobby.
You can always add pages later. You can’t easily un-commit to a book that’s too big.
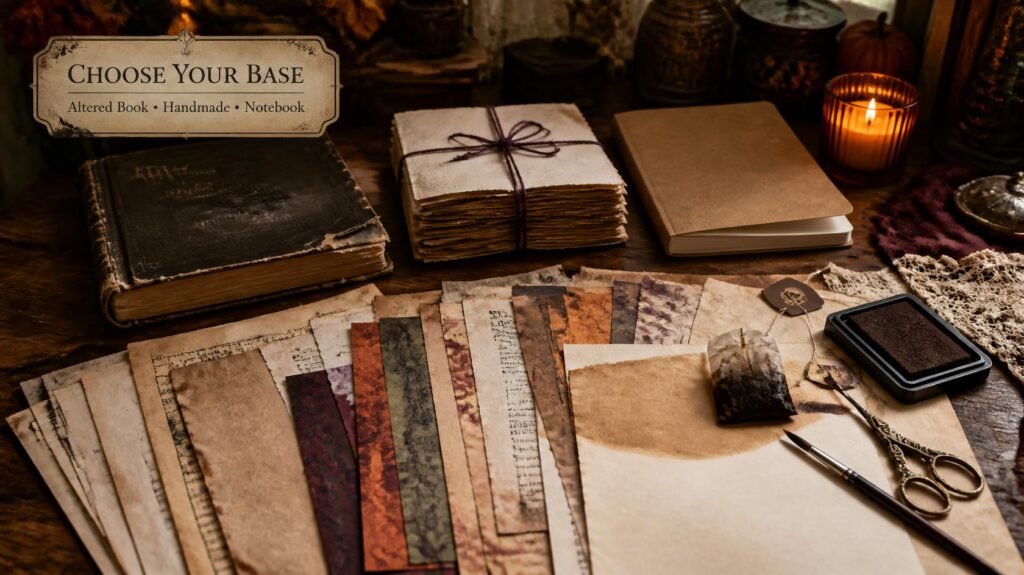
Step 1 · Choose your base:
Three routes, in order of effort:
The altered book (fastest):
An old hardback with a cover you like. Open it a third of the way in and tear out pages in small batches, leaving every third or fourth page in place as a stub, the strip you’ll glue your own papers onto. Removing pages is what stops the finished book bulging.
Charity shops sell damaged hardbacks for very little, and dark cloth-bound ones are perfect for Halloween. Only ever alter books that are already beyond saving.
Handmade signatures (most satisfying):
Fold your own papers into small stacks of four or five sheets, and bind them into a cover you make. More work, but you control every paper in the book, and the whole thing feels properly yours.
A cheap notebook (easiest of all):
Any plain notebook. Age the pages with tea, cover the front with dark paper, and start layering. Nothing wrong with this route, the finished pages look identical.
Step 2 · Age all your papers at once:
This is the step that makes a Halloween journal feel like one object rather than a pile of unrelated pages, and it’s much faster done in bulk.
Brew a strong pot of black tea and let it cool. Then work through a stack of paper: brush tea across each sheet, lay used tea bags on a few of them for darker blotches, and hang them over a clothes airer or lay them on newspaper.
Do fifteen or twenty sheets in one go. It takes twenty minutes and gives you enough aged paper for the whole journal plus spares.
Once dry, drag a brown ink pad around the edges of every sheet. Yes, every sheet. It’s tedious for four minutes and it’s the reason the finished book looks cohesive.
Mix your papers. A journal made entirely of tea-stained printer paper looks flat. Aim for roughly half aged plain paper, a quarter old book or dictionary pages, and a quarter brown kraft, packaging and patterned scraps.
Step 3 · Make the cover:
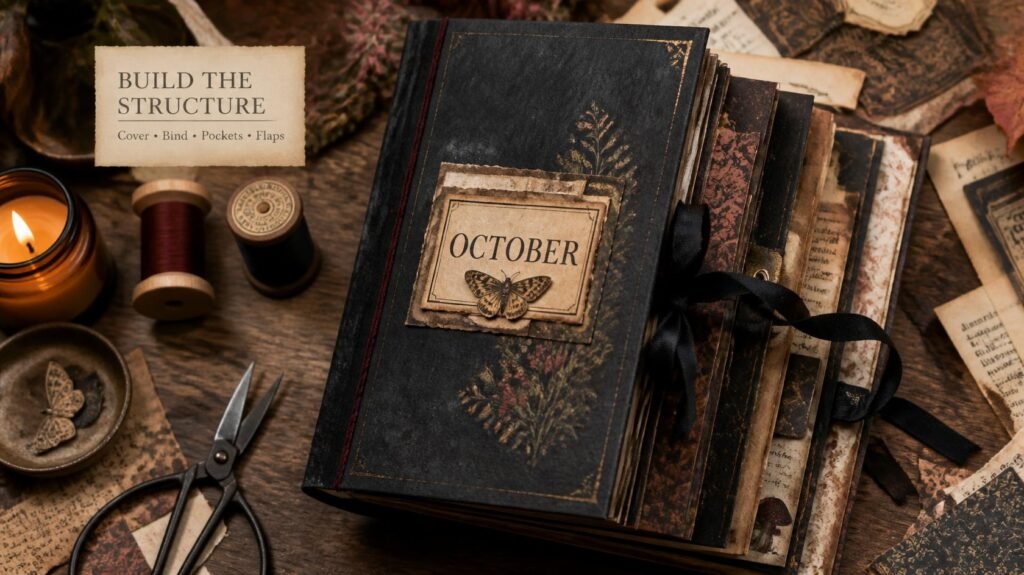
For an altered book, the cover already exists, you just add to it. For anything else, cereal box card cut slightly larger than your pages is the classic free option.
What makes a cover feel Halloween without being costume-shop:
- Dark, textured base. Black or deep brown paper, fabric, or a cloth book cover. Crumple paper before gluing for instant texture.
- One label. A single aged label with a title, October, Hollow, Autumn 2026, inked heavily around the edges.
- One small motif. A moth, a moon, a key, a black cat silhouette. One. Not four.
- A worn edge. Rub brown ink or fine sandpaper along the cover edges and corners so it looks handled.
Restraint is what separates a cover that looks antique from one that looks like a party invitation.
Step 4 · Bind it:
If you’re altering a book, skip this, you’re done. Otherwise, three easy options:
- Stapler: fold four sheets, open flat, staple along the fold. Two minutes.
- Ribbon: lay a ribbon inside the fold, bring both ends out over the top and bottom of the spine, tie on the outside. No tools, and you can add pages any time.
- Pamphlet stitch: three holes along the fold, sewn with embroidery floss. Ten minutes and it feels properly handmade.
For a Halloween journal, black or deep red embroidery floss on a pamphlet stitch looks wonderful, the thread becomes a design element rather than just structure.
Full instructions for all five binding methods are in How to Bind a Junk Journal.
Step 5 · Build in the structure before you decorate:
This is the step most people do backwards, and it’s worth getting right.
Add your pockets, flaps and fold-outs while the book is still fairly empty. Once pages are layered and decorated, gluing in a pocket means covering work you’ve already done.
| Element | Made from | Takes |
| An envelope, flap removed | 2 min | |
| Tuck spot | Paper glued on three sides | 2 min |
| Window flap | Square cut in the top layer, folded open | 5 min |
| Fold-out | Wider sheet folded in, glued at one edge | 5 min |
| Waterfall | Layered pieces glued along one edge only | 10 min |
Aim for one interactive element every two or three spreads. Every single person who opens your journal will lift the flap and pull out the tag, that’s the whole point of them.
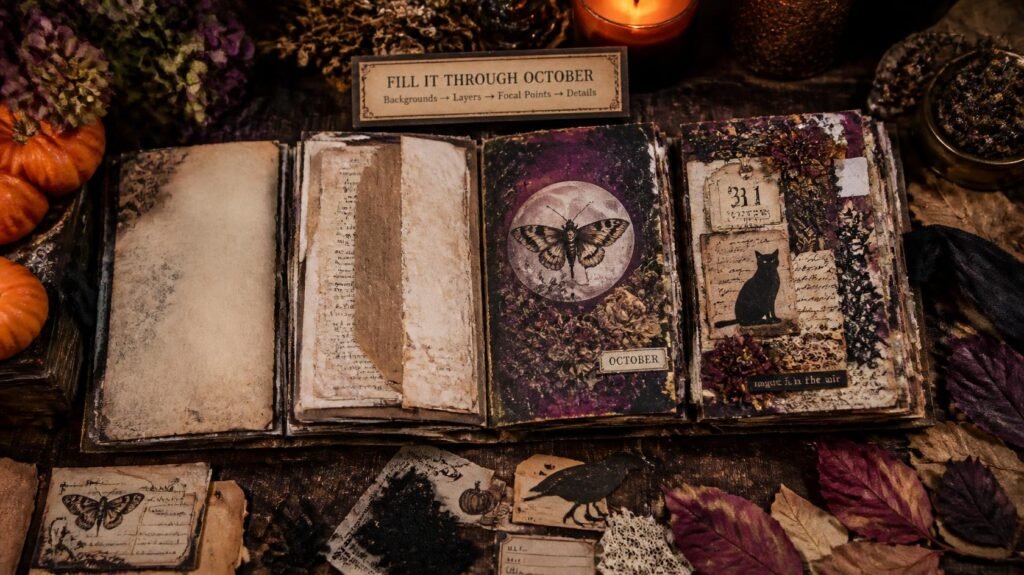
Step 6 · A plan for filling it through October:
Here’s where most Halloween journals stall. Ten blank aged pages is intimidating, and “I’ll do it at the weekend” turns into November.
So don’t decorate spreads. Decorate one element at a time, across the whole book:
- Week 1 — backgrounds. Glue a base layer onto every spread. No detail, just ground. One evening, whole book done.
- Week 2 — middle layers. A torn book page or kraft strip on each spread, at an angle.
- Week 3 — focal points. One star element per spread. This is the fun evening.
- Week 4 — details and writing. Lace corners, small tags, dates, a line of handwriting on each page.
Working in passes like this is far easier than finishing spreads one by one, because each pass needs only one kind of decision. And you end up with a whole finished journal instead of three lovely pages and seven empty ones.
If you’d like ready-made pieces to speed up week three, bottles, labels, moths, ghosts, our Halloween sets print at home and cut down in minutes. Have a peek in our Etsy shop.
Step 7 · Give it a closure:
Every junk journal ends up too fat to close. Plan for it from the start.
The simplest closure is a length of ribbon or seam binding glued into the spine, long enough to wrap around and tie. A wide elastic band works too, and a paper belly band, a strip wrapped around the whole book with a label on the front, looks especially good on a Halloween journal.
Frequently asked questions:
1- How many pages should a Halloween junk journal have?
Ten to sixteen, five to eight spreads. That’s finishable in October at a couple of spreads a week, and a finished small journal beats an abandoned big one every time.
2- What size is best?
A5, around 15 × 21cm. Large enough to layer comfortably, small enough that each spread doesn’t become a project in itself.
3- Can I make one without any binding or sewing?
Yes. Alter an old hardback, or use a cheap notebook and age the pages. Both give you a finished book with no binding work at all.
4- What paper should I use for the pages?
A mix, roughly half tea-stained plain paper, a quarter old book pages, a quarter kraft and patterned scraps. Variety is what stops the journal looking flat.
5- How do I stop the journal bulging as I add layers?
Remove pages before you start if you’re altering a book, keep signatures to four or five sheets, and accept a bit of bulk as normal. Then add a ribbon tie, every well-used junk journal ends up fat.
6- When should I start making it?
Early to mid September. That gives you a week to build the book and all of October to fill it slowly, which is when it’s actually enjoyable.
7- Can I reuse the same journal next year?
Absolutely, and it’s lovely to. Leave a few spreads blank at the back, and add to it each October. After three or four years it becomes a record of autumns rather than a craft project.
8- What should I put on the cover?
A dark textured base, one aged label with a title, and one small motif. Then rub ink or sandpaper along the edges so it looks handled. Anything more starts to look like packaging.
Start with the tea
Brew a pot, stain fifteen sheets of paper, and hang them up to dry. That’s the biggest single step of the whole project, and it takes twenty minutes.
Tomorrow you can choose a cover. The journal has already begun.
Ready to decorate? Try A Vintage Halloween Spread, Step by Step for your first pages, or browse 20 Halloween Junk Journal Ideas. New to all this? Start with How to Start a Junk Journal. ♡
Our Etsy shop is full of adorable printable cliparts — birthday boys & girls, sweet animals, summer and spring themes — designed to print at home and layer straight into your journal.
Browse the Clipart Shop ↗
Leave a Reply