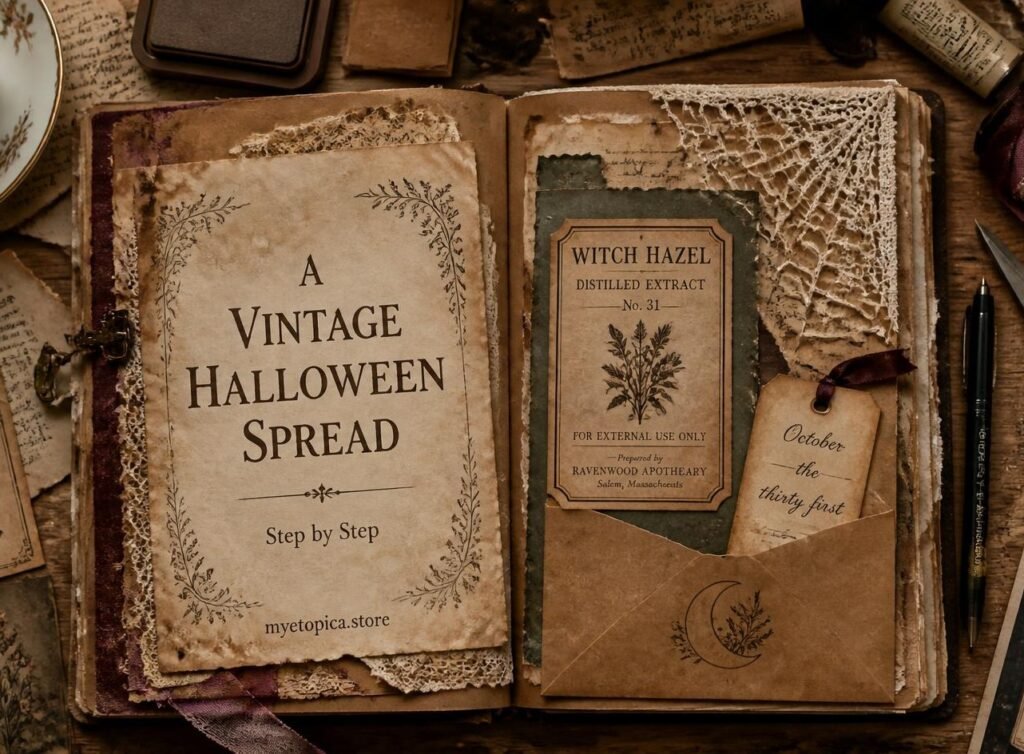
Most Halloween tutorials show you a finished page and leave you to reverse-engineer it. That’s fine if you already know how layering works, and hopeless if you don’t.
So this one goes the other way. We’ll build a vintage Halloween junk journal spread from a blank page, one step at a time, in the order I’d actually do it, including the bits where beginners usually go wrong and what to do instead.
Almost everything here is free. The whole spread takes about an hour, though it splits happily across three or four short sessions.
What we’re making: a two-page spread in the antique apothecary style, aged layered background, a torn document, an apothecary label as the focal point, a lace cobweb corner, and a pocket holding a tag you can write on later.
What you’ll need:
- A journal or two sheets of paper, any book you’re working in
- Three or four papers, an old book page, brown kraft, a plain sheet for staining, something patterned
- Black tea, one strong cup, cooled
- A brown ink pad, the only thing genuinely worth buying, around £3
- Glue stick
- Scissors
- A pen, brown or black, fine tip
- A scrap of lace or a paper doily, for the cobweb
- An envelope, for the pocket
- One printed label or clipart, your focal point
No lace? A torn piece of tissue paper works. No printed label? Write one by hand on aged paper, honestly, it often looks better.
Step 1 · Age your papers first
Do this before anything else, because everything needs to dry.
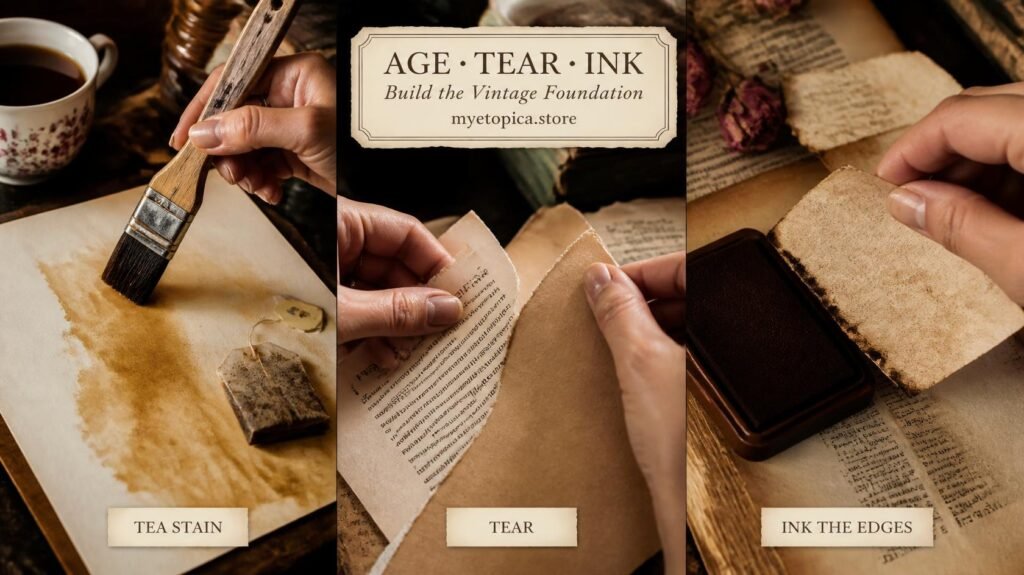
Take your plain sheet and brush cooled tea across it with a soft brush or a scrunched piece of kitchen paper. Don’t aim for even coverage, blotchy is the goal. Lay the used tea bag directly on the paper for a minute in one or two spots to make darker patches.
While that dries, take your brown ink pad and drag it around the edges of your book page and your kraft paper. Every piece that will appear on this spread should have darkened edges.
Dry it properly. Fifteen minutes minimum, or lay it under a book for ten. Damp paper wrinkles when you glue it, and that wrinkle is the difference between “vintage” and “accident”.
Step 2 · Tear, don’t cut
This is the step that decides whether your spread looks soft and old or flat and modern, and it’s the one beginners skip most often.
Tear your papers to size rather than cutting them. Tear towards yourself, slowly, and let the edge wander. You’ll see the paper fibres feather out white along the tear.
Then drag every torn edge across the brown ink pad. Those pale fibres soak up ink instantly and go dark, which is exactly the effect you want, it’s what makes one layer melt into the next instead of sitting on top of it.
Step 3 · Build the background
Work from big to small, and think of it as three layers.
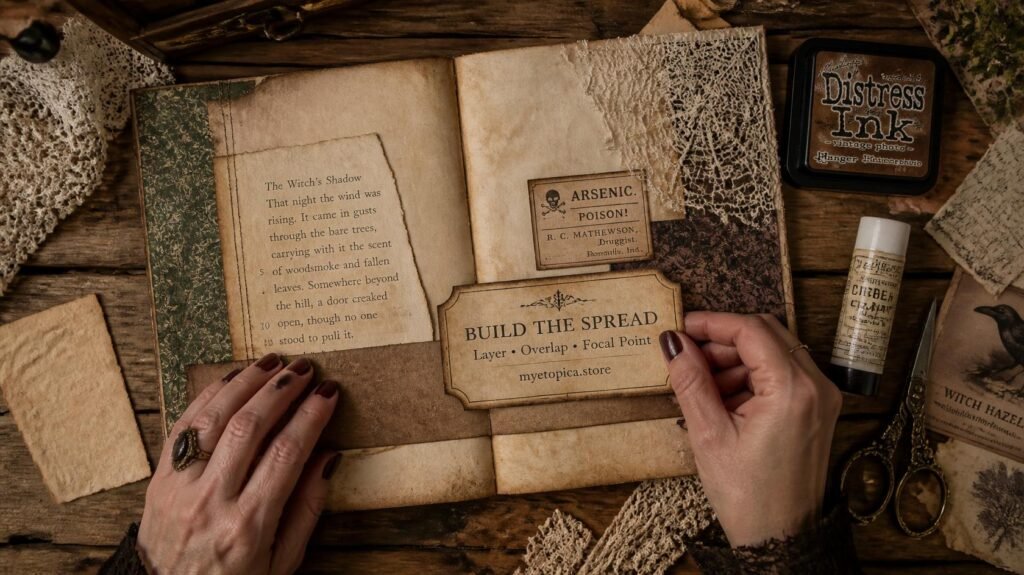
Bottom layer: your tea-stained sheet, glued across most of both pages. This is the ground everything sits on. It doesn’t need to reach the edges, leaving a border of the original journal page showing looks deliberate.
Middle layer: the old book page, torn, glued at a slight angle across one side. Not straight. Nothing on a junk journal page should be perfectly straight.
Top layer: a strip of brown kraft along the bottom edge, or across the gutter where the two pages meet. This visually ties the spread together into one scene rather than two separate pages.
The angle rule: rotate every layer three to five degrees off straight, and rotate each one differently. That tiny wonkiness is what gives junk journal pages their collected-over-time feel.
Step 4 · Add the lace cobweb
Cut a triangle from your lace or doily and glue it into the top corner of one page, following the corner shape.
Then, and this is what makes it work, press your brown ink pad lightly over the lace and slightly onto the paper around it. The ink catches on the raised threads and shadows underneath, and suddenly it reads as an actual cobweb rather than a piece of lace.
Keep it to one corner. Two cobwebs is a costume shop; one is a house nobody has cleaned in a while.
Step 5 · The focal point
Now the star of the spread: your apothecary label, or a bottle, moth, ghost, whatever you’ve chosen.
Three things to get right:
- Ink its edges heavily. Heavier than the background pieces. It should look like the oldest thing on the page.
- Place it off-centre. Roughly a third of the way across one page, never dead centre. Centred focal points look like a certificate.
- Overlap something. Let it sit partly over an edge where two layers meet. A focal point floating in the middle of a clear space looks stuck on; one that overlaps a seam looks built in.
If you’d like ready-made pieces already designed for this, bottles, labels, moths, ghosts, our Halloween sets print at home and cut down in minutes. Have a peek in our Etsy shop.
Step 6 · Make the pocket
Take your envelope. Cut off the flap, and cut the whole thing down to roughly a third of the page height, keeping the opening at the top.
Ink the edges, including the opening edge, which gets handled most and would age fastest.
Glue it down along the bottom and both sides only. Never the top, or it isn’t a pocket. Press firmly along the glued edges and let it sit for a minute.
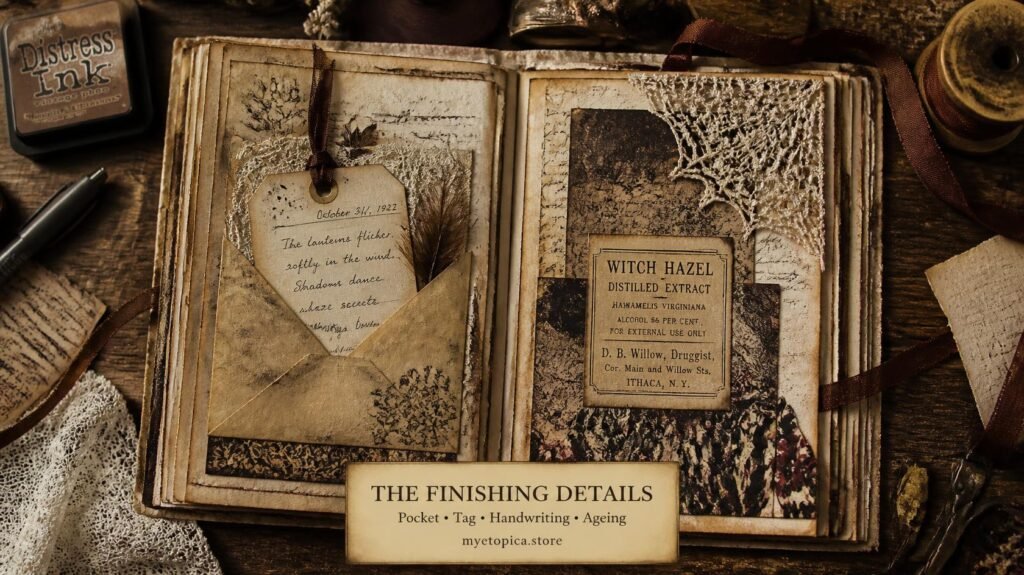
Now cut a tag to slip inside: a rectangle of aged card, one end cut into a point or a curve, a hole punched at the top, and a scrap of ribbon or string threaded through so it’s easy to pull out.
Step 7 · Write something
The step almost everyone skips, and the one you’ll be most grateful for in five years.
You don’t need a paragraph. Options that take under a minute:
- The date, small, in a corner
- A line on the tag, what the weather was doing, what you were thinking about
- A hand-written addition on top of the printed label, in brown ink
- A single word somewhere in the layers
That last one is worth doing regardless. Handwriting over print is the detail that stops a page looking like a collage of bought things and makes it look like something a person used.
Step 8 · The final ageing pass
Stand back and look at the whole spread. Almost always, one or two pieces will look brighter or newer than everything else.
Fix them in place: wipe a brown-inked fingertip over them directly on the page. Then run your inky finger around the outer edges of both pages, so the spread darkens at its borders like a real old book.
Close the journal, press it under something heavy overnight, and leave it alone. Pages always look better the next morning, partly because the glue has settled, and partly because you’ve stopped seeing every individual decision.
Where beginners go wrong
| Problem | Cause | Fix |
| Page looks flat | Everything cut, not torn | Tear and ink the edges |
| Pieces look stuck on | Nothing overlaps | Overlap seams and layers |
| Page looks crowded | Too many focal points | One star, everything else quiet |
| Paper wrinkled | Damp paper, or too much glue | Dry fully, thin even glue layer |
| Looks modern, not vintage | Bright colours, pure black | Tea wash over the whole spread |
| Journal won’t close | Bulky pocket contents | Nothing to fix, add a ribbon tie |
Three variations on the same structure:
The eight steps above work for almost any Halloween spread. Change only the focal point and the palette:
Moonlit botanical: pressed herbs instead of the label, deep green and navy instead of amber, moon phases inked along the bottom strip.
Spooky-cute: a little cream ghost as the focal point, soft grey and dusty pink, and a child’s handwriting on the tag if you’re making it together.
Haunted parlour: an old anonymous photograph as the focal point, torn wallpaper-style layers, faded rose and mauve.
Frequently asked questions
1- How long does this spread take?
About an hour of actual work, plus drying time. It splits well into short sessions, age papers one evening, build the background the next, add details later.
2- Do I need special supplies?
Only a brown ink pad, and even that has substitutes, strong coffee on a cotton bud, or a brown marker scribbled and smudged with a damp finger will do at a pinch.
3- Why do my layers look separate instead of blended?
Almost always because the edges are cut and un-inked. Tearing plus brown ink on every edge fixes about ninety percent of this problem on its own.
4- How many layers should a spread have?
Three is plenty: background, middle, focal point. Beginners often go to six and end up with mud. You can always add a fourth later — you can’t easily remove one.
5- What if I don’t have an old book to tear up?
Tea-stained printer paper does the same job. Charity shops also sell damaged books for very little, and they usually have a pile they’re glad to move.
6- Can I do this without printed cliparts?
Absolutely. Hand-write your apothecary label on aged paper with a wobbly hand — it frequently looks better than anything printed, because the imperfection is real.
7- My glue keeps wrinkling the paper. What am I doing wrong?
Either the paper is still damp from staining, or you’re using too much glue. A thin even layer with a glue stick is enough for everything on this spread.
8- Should both pages match?
They should feel like one scene rather than two. Running a strip of paper across the gutter, and using the same palette on both sides, ties them together without needing them to mirror each other.
Make the first layer tonight
You don’t have to do all eight steps in one sitting. Brew a cup of tea, stain a sheet of paper, and leave it to dry. That’s step one done, and the spread has begun.
Everything after that is just gluing things down slightly crooked and rubbing brown ink on them, which is, genuinely, the whole craft.
Want more page ideas in this style? See 20 Halloween Junk Journal Ideas. For the ageing techniques in full, read How to Age & Distress Paper, and for printing your pieces, the Halloween printing & ageing guide. ♡
Our Etsy shop is full of adorable printable cliparts — birthday boys & girls, sweet animals, summer and spring themes — designed to print at home and layer straight into your journal.
Browse the Clipart Shop ↗
Leave a Reply