When you first wander into the junk journaling world, people throw around words like “ephemera” and “signatures” and “fussy cutting,” and it can feel like everyone got a handbook except you.
They didn’t, it’s just craft slang, and most of it is far simpler than it sounds. Here are the junk journaling terms you’ll hear most, translated into plain, cozy language, grouped so you can find what you need quickly.
Don’t try to memorise these. Nobody is testing you. Bookmark this page and come back whenever a word trips you up, that’s exactly what it’s here for.
The basics
1- Junk journal:
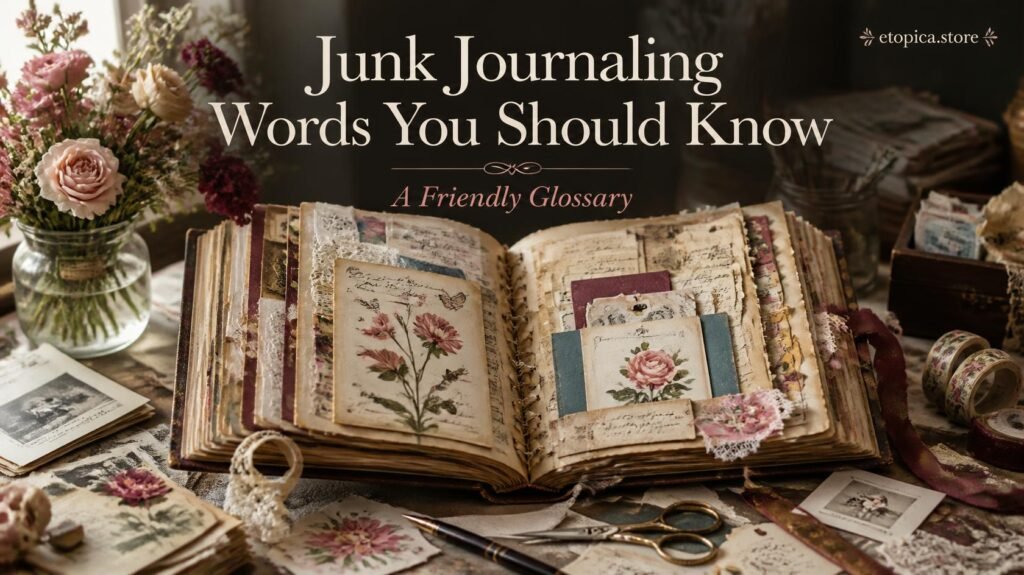
A handmade book made mostly from “junk”, recycled paper, ephemera, old book pages, packaging and found bits. Unlike a scrapbook, it isn’t built around photos, and unlike a diary, it doesn’t need writing. The making is the point.
2- Ephemera:
Fancy word, simple meaning: little paper bits that were only ever meant to be temporary. Tickets, stamps, labels, receipts, packaging, tags, old letters. In junk journaling, ephemera is treasure. When someone says “add some ephemera,” they just mean “tuck in a few pretty paper scraps.”
3- Signature:
A small stack of pages folded in half together. Sew or staple a few signatures and you’ve got the “guts” of a handmade book. Nothing to do with your handwriting. Most people keep signatures to 4–6 sheets, because thicker stacks won’t fold flat.
4- Spine:
The folded edge of the book where everything is held together. When people talk about binding, they mean what happens along the spine.
5- Fore-edge:
The open edge opposite the spine, the side you run your thumb along to flip pages. You’ll hear it mentioned when trimming, because inner pages of a thick signature stick out past the outer ones.
6- Spread
The two pages you see at once when the journal is open. Most junk journalers design a spread as a single scene rather than treating the two pages separately.
Parts of a page
1- Tuck spot (or tuck):
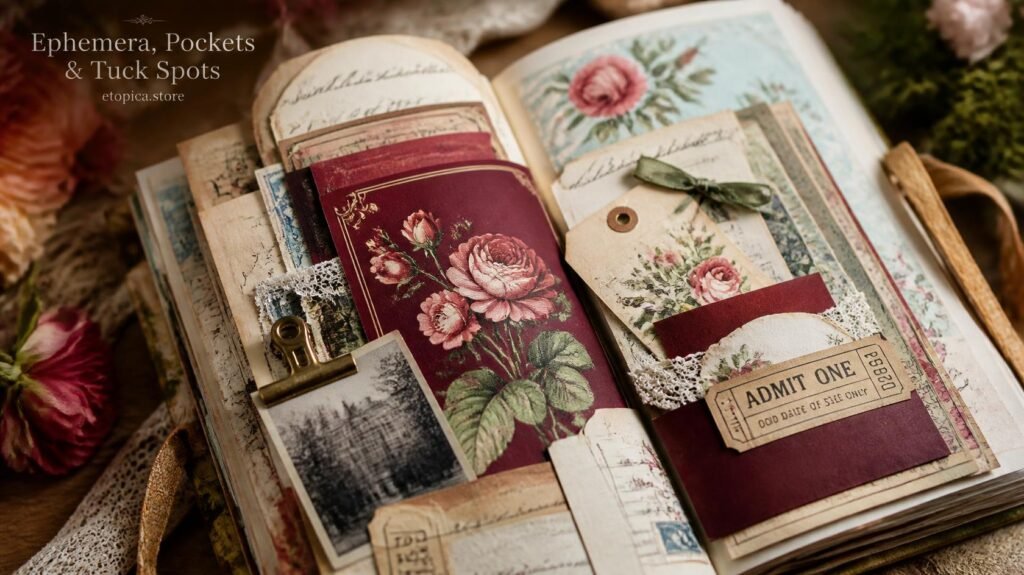
A little pocket, flap or opening on a page where you can slide things in and out, a tag, a note, a photo. Tuck spots make a journal interactive and genuinely fun to flip through.
2- Pocket:
Exactly what it sounds like, a paper pouch glued onto a page to hold bits. The easiest one to make is an envelope glued down with the opening facing up.
3- Tag:
A small piece of card, usually with a hole and string at one end, that slides into a pocket or tuck spot. Tags are where a lot of people do their actual writing, because a tag feels less intimidating than a whole page.
4- Focal point:
The one thing your eye lands on first, usually the biggest or prettiest element. A printed clipart, a photo or a bold flower often plays this role. Every page loves having one, and pages without one tend to feel busy and unresolved.
5- Tip-in:
An extra page glued into the journal along one edge only, so it still flips like a normal page. It’s how you add pages to a journal that’s already bound.
6- Gatefold:
A page with two flaps that open outwards from the middle, like little gates. Lovely for hiding a surprise underneath.
7- Waterfall:
A stack of pieces layered so each one sits slightly lower than the last, and lifting one reveals the next. It looks complicated and is really just careful gluing along one edge.
8- Belly band:
A strip of paper wrapped around a folded insert or a group of pages to hold them together, like a paper belt. Often decorated and used as a place to write a date.
Techniques:
1- Layering:
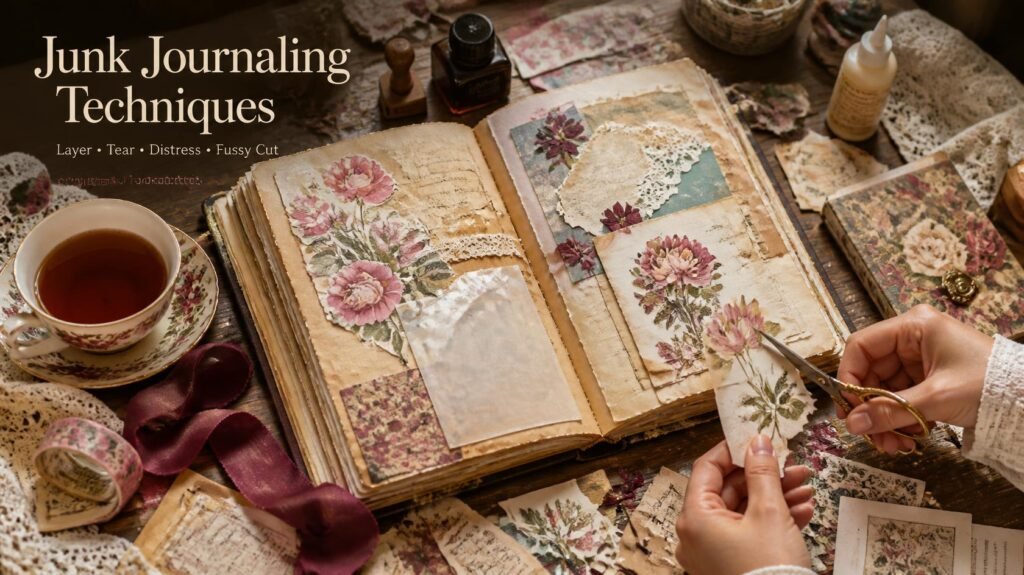
Stacking papers and pieces on top of each other so the page has depth and texture instead of looking flat. Layering is the heart of that dreamy junk-journal look, and the most common thing beginners under-do.
2- Distressing / ageing:
Making fresh paper look old and loved, tearing edges, rubbing on ink, crumpling, or staining with tea or coffee. It’s how you get that soft, vintage, “found in an attic” feeling from ordinary printer paper.
3- Fussy cutting:
Carefully cutting around the outline of an image, a single flower, a bird, a label, instead of cutting a plain square around it. It takes patience and makes your cut-outs look polished and sticker-like.
4- Rough cutting:
The opposite: leaving a small white border around an element, like old-fashioned scrap die-cuts. Much faster, and charmingly vintage in its own right.
5- Tearing (deckle edge):
Tearing paper instead of cutting it, so the fibres feather out softly. That feathered edge is called a deckle edge, and it’s the fastest way to make layers blend into one another.
6- Tea staining:
Brushing or dipping paper in cooled tea or coffee to tint it a warm, aged colour. Every sheet comes out slightly different, which is exactly why it looks convincing.
7- Altered book:
A junk journal made by taking an existing hardback, tearing out most of the pages, and gluing your own papers onto the remaining stubs. The old cover does all the binding work for you.
Materials you’ll hear named
1- Kraft paper:
That brown, paper-bag colour and texture. A favourite base and background because it makes other colours glow, takes ink beautifully, and is usually free from parcels.
2- Vellum:
Lovely see-through paper you can layer over things for a soft, misty effect. Modern craft vellum is translucent plastic-feel paper, not the historical animal-skin kind.
3- Washi tape:
Thin, pretty, low-stick paper tape in endless patterns. Great for borders, holding pieces down, and adding colour without mess. One roll goes further than beginners expect.
4- Doily:
A round lace-patterned paper mat, originally for cake plates. Layered under a focal point, it instantly adds delicacy, one of the cheapest “expensive-looking” tricks going.
5- Seam binding:
Thin, slightly crinkly ribbon from the sewing aisle. Junk journalers love it because it dyes easily with tea or ink and tucks under layers without adding bulk.
6- Ledger paper:
Old accounting or record paper with printed columns and handwritten numbers. Highly prized as a background because the faint grid and old handwriting read instantly as “vintage”.
7- Die cut:
A shape cut out by a machine rather than by hand, flowers, tags, borders. You can buy them ready-made, or achieve much the same look by fussy cutting a printed clipart yourself.
8- Cardstock:
Thicker, stiffer paper. Used for covers, tags and anything that needs to hold its shape. Measured in gsm or lb, higher numbers mean thicker.
Tools and mediums
1- Bone folder:
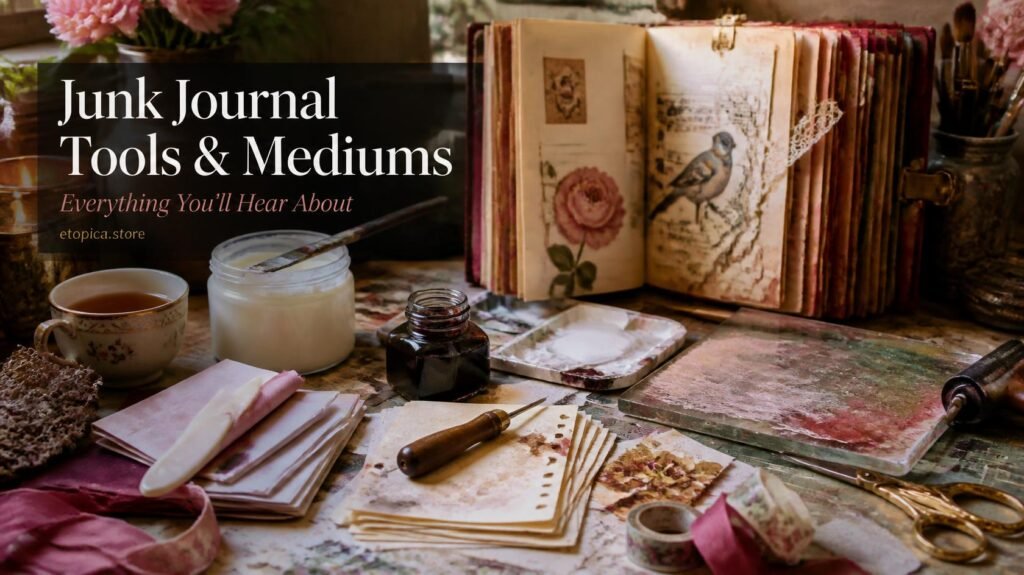
A flat, smooth tool for creasing folds crisply. The back of a spoon does almost the same job, so don’t rush to buy one.
2- Awl:
A pointed tool for piercing holes along a spine before sewing. A thick tapestry needle or a pushpin works perfectly well for beginners.
3- Matte medium:
A milky liquid that works as glue, sealer and image-transfer medium in one pot. Dries clear and flat, useful once you’re layering heavier pieces.
4- Gesso:
A white primer painted over a page to give it a workable surface and hide busy printing underneath. Comes from painting, borrowed by mixed-media journalers.
5- Walnut ink:
A rich brown ink, often sold as crystals you dissolve in water. Gives a deeper, more antique tone than tea, and one small pot lasts an extremely long time.
6- Gelli plate:
A soft, jelly-like slab used to print painted textures onto paper. Firmly in “advanced hobby” territory, you’ll see it mentioned, and you can happily ignore it for years.
Digital words
1- Printables:
Digital files you buy or download, then print at home as many times as you like. The great advantage over physical stickers: one purchase, unlimited copies.
2- Digital ephemera:
Printables designed specifically to look like old paper bits, vintage labels, tickets, postcards, botanical prints. Print, cut, age the edges, and they’re indistinguishable from the real thing on a page.
3- Clipart:
Individual illustrated elements, flowers, animals, borders, meant to be printed and cut out as focal points. Usually sold as sets designed to work together.
4- PNG vs JPG:
A PNG has a transparent background, so you can arrange elements yourself before printing. A JPG is a flat sheet with a background, printed as-is and cut apart. For paper journaling, either works fine.
5- Commercial use / personal use:
The licence attached to a digital set. Personal use means for your own journals and gifts. Commercial use means you may sell things you make with it. Always check before selling anything, and when in doubt, just ask the seller.
Frequently asked questions
1- What exactly counts as ephemera?
Anything paper that was designed to be thrown away: tickets, receipts, stamps, tags, wrappers, old letters, packaging, timetables. If it was temporary and it’s made of paper, it’s ephemera.
2- What’s the difference between a signature and a spread?
A signature is a folded stack of pages, a structural part of the book. A spread is the two pages you see when the journal is open, a visual unit you design. One is about building, the other about decorating.
3- Is fussy cutting worth the time?
For your focal point, yes, a cleanly cut flower sits on the page like a sticker and looks far more finished. For background pieces, rough cutting or tearing is faster and often looks better anyway.
4- Do I need to know all these terms to start?
Not remotely. Five will carry you through your first month: ephemera, layering, focal point, tuck spot and distressing. The rest you’ll absorb without noticing.
5- What’s the difference between distressing and ageing?
People use them interchangeably. If anyone distinguishes, distressing means physical damage, tearing, crumpling, sanding, while ageing means colour changes from ink, tea or coffee. Most pages get both.
6- Why do people call it “junk” if the pages are beautiful?
Because the raw materials genuinely were junk, bin-bound paper given a second life. The name describes where the materials came from, not the quality of the result.
7- What does “no-sew” mean in a tutorial?
The project uses glue, staples, ribbon or rings instead of a needle and thread. Plenty of gorgeous junk journals are made entirely without sewing.
Now you speak the language
See? None of it is complicated once someone just tells you plainly. Keep this glossary bookmarked, and those tutorials will suddenly make a whole lot more sense.
Speaking of focal points, printable cliparts make some of the easiest, prettiest ones for beginners, because the hard part is already done for you. Have a look at the ready-to-print sets in our Etsy shop.
And if you’re brand new, start your journey here: What Is Junk Journaling?, or make your first page with this step-by-step guide. ♡
Our Etsy shop is full of adorable printable cliparts — birthday boys & girls, sweet animals, summer and spring themes — designed to print at home and layer straight into your journal.
Browse the Clipart Shop ↗
Leave a Reply