You found a gorgeous clipart set, clicked buy, downloaded a zip file… and now what?
If you’ve ever felt a little lost between “downloaded the files” and “beautiful layered journal page”, this guide is for you. We’ll walk through the whole workflow for digital cliparts, files, printing, paper, cutting, ageing and layering, so your pretty downloads actually end up in your journal instead of forgotten in a folder.
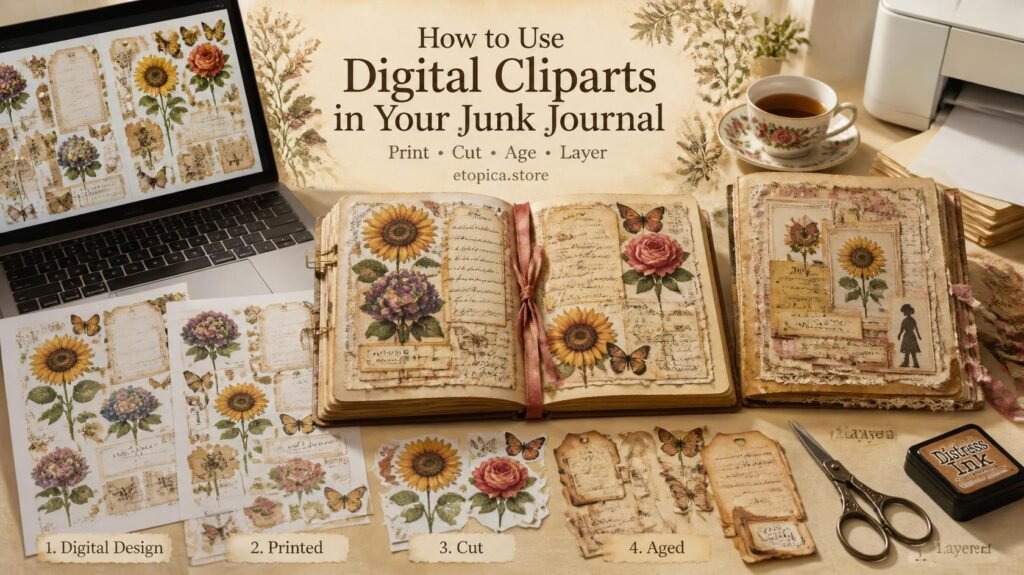
First: what exactly did you buy?
Digital clipart and ephemera sets usually arrive as one or more of these file types:
| File type | What it is | Best for |
| Ready-to-print pages, already laid out at the right size | Beginners, just open and print | |
| JPG | A flat sheet of designs on a white or coloured background | Printing a whole sheet and cutting pieces out |
| PNG | Individual elements with transparent backgrounds | Making your own sheets, or digital journaling |
After purchase, Etsy stores your files under Your Account → Purchases & Reviews → Download Files. They stay there, so you can re-download any time, but don’t rely on it.
Sort your files now, not later
Two minutes here saves real frustration in six months. Make one folder called Journal Printables, and inside it a subfolder per set. Unzip everything straight away, half-forgotten zip files are where printables go to die.
If you print a set often, keep one “sampler” page you’ve already printed clipped inside your journal, so you can see at a glance what’s in the set without opening the computer.
Printing: the three settings that matter
You don’t need a fancy printer. A basic home inkjet gives lovely results if you get three things right:
- Print at 100% scale (“Actual size”). Turn off “fit to page”, it stretches or shrinks designs unpredictably, and a set designed to work together stops matching.
- Choose “Best” or “High” quality. Draft mode makes vintage roses look sad and stripey.
- Tell the printer what paper you’re using. Selecting “matte photo” or “cardstock” in the print dialog changes how much ink is laid down and how slowly the paper feeds. It genuinely improves the result and prevents smudging.
Inkjet or laser?
Both work. Inkjet gives softer, slightly warmer colour that suits vintage styles, and handles thick paper better on most home models. Laser gives crisper edges and never smudges, but the toner sits on the surface, so heavily creased pieces can crack.
One practical difference: inkjet prints will run if you tea-stain them too soon, and laser prints won’t. If you like wet ageing techniques, laser is the more forgiving of the two.
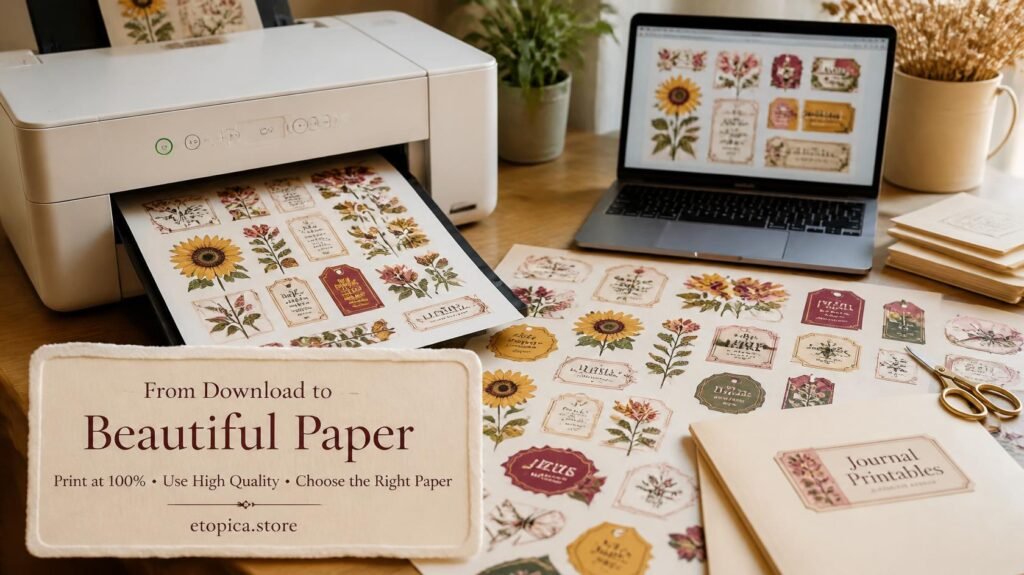
The paper you print on changes everything:
This matters more than any other choice here. Same file, different paper, completely different result.
| Paper | Weight | Best for |
| Regular printer paper | 75–90gsm (20–24lb) | Layering pieces, thin enough to blend in |
| Slightly heavier bond | 105gsm (28lb) | The sweet spot: sturdy, still folds well |
| Cream or ivory paper | 90–120gsm | Instant vintage warmth, zero effort |
| Matte photo paper | 120–160gsm | Focal elements where colour really matters |
| Cardstock | 176gsm+ (65lb+) | Tags, covers, anything that must hold shape |
| Tracing paper / vellum | Thin | Soft, translucent overlay layers |
Always choose matte over glossy. Glossy paper looks wrong beside old paper, resists glue, and reflects light in photographs. There is almost no situation in junk journaling where gloss is the right answer.
If you only make one upgrade, print on cream paper. It does half the ageing work before you’ve touched an ink pad.
Save your ink: print a sampler page first, one page with a few elements, to check colours and size before committing to a whole set.
Resizing before you print:
Most sets come at a sensible size, but you’ll often want a smaller version, tiny elements are wonderful for filling gaps and tucking into corners.
The easiest method needs no special software:
- Open a blank document in Word, Google Docs or Canva.
- Drag the PNG or JPG file onto the page.
- Drag a corner handle to resize, corners keep the proportions, side handles squash the image.
- Copy and paste it a few times at different sizes so one sheet gives you large, medium and small versions.
- Print at 100%.
One limit: you can shrink an image as much as you like, but enlarging past its original size makes it soft and pixelated. Scale down freely, scale up cautiously.
Making one set go a long way:
A few tricks that quietly double the value of every set you own:
- Print the same sheet at three sizes. Suddenly one set covers focal points, mid-layers and tiny fillers.
- Print a page in greyscale. The same florals in soft grey work as subtle background layers you’d never buy separately.
- Print on kraft or tea-stained paper. The paper colour shows through the lighter parts and completely changes the mood.
- Cut one element in half. Half a border along a page edge reads as a whole new piece.
All the clipart sets in our Etsy shop are designed to layer together like this, birthday sets, sweet animals, summer and spring. Buy once, print as many times as you like.
Cutting: neat vs torn (both are right)
How you cut your cliparts sets the whole mood of the page:
- Fussy cutting: carefully cutting right along the edge of a flower or label with small scissors. Crisp, intentional, sticker-like. Very satisfying, mildly addictive.
- Rough cutting: leaving a small white border around each element, like old-fashioned scrap die-cuts. Faster, and charmingly vintage.
- Tearing: tearing around larger pieces such as labels, postcards and text blocks, so the soft edges melt into your layers.
Two things that make fussy cutting easier: move the paper rather than the scissors, and use small scissors with a short blade, kitchen scissors genuinely fight you on curves.
Aging printed cliparts so they look antique:
Fresh prints can look a little too clean next to genuinely old paper. Three easy fixes:
- Ink the edges. Drag each cut piece across a brown ink pad. Ten seconds per piece, instant hundred-year-old look. This is the highest-impact step in the whole article.
- Tea or coffee wash. A quick brush of cooled tea over the printed piece mutes the colours beautifully. Let inkjet prints dry for at least 15 minutes first, or the ink will run.
- Crumple and flatten. Gently scrunch the piece, flatten it out, and rub ink over the creases. Gorgeous texture for labels and tags.
Layering: the formula that always works
If arranging layers feels intimidating, use this three-layer formula:
Background → middle piece → star of the show. A big soft layer (book page, tea-stained paper), a medium element (label, doily, postcard), and one focal clipart on top, slightly off-centre. Tuck a ribbon or paper strip under a layer, and done.
Rotating each layer slightly, nothing perfectly straight, is what gives junk journal pages that relaxed, collected-over-time feel.
And resist using every element from a sheet on one page. One clear focal point with two supporting pieces beats six competing ones every time.
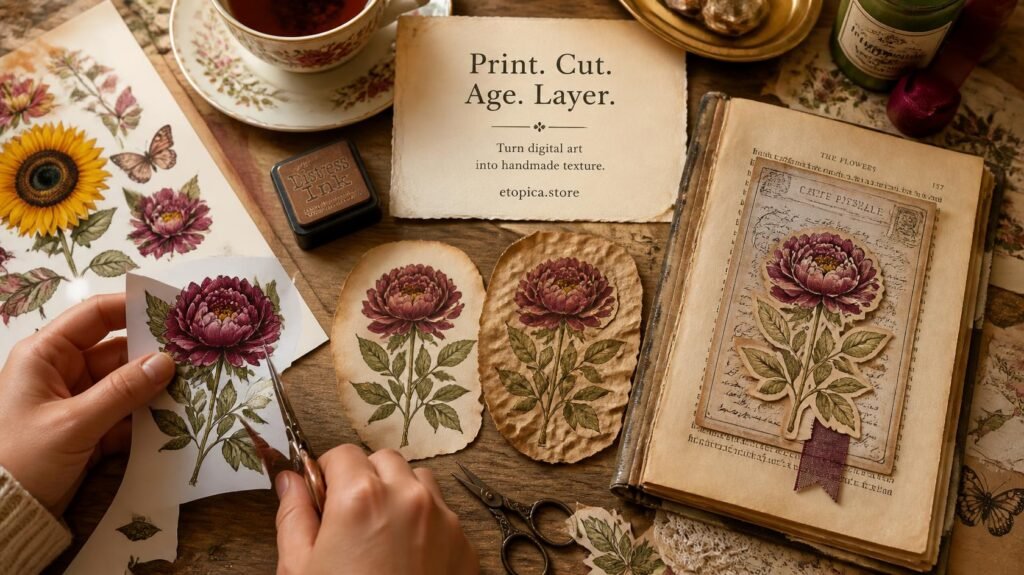
Five common printing problems (and fixes):
Colours look darker or duller than on screen. Screens glow, paper doesn’t, some shift is normal and usually suits junk journaling anyway. If it’s extreme, check you haven’t left draft mode on.
Prints come out blurry. Either the image was enlarged past its original size, or the printer is on draft quality. Reprint at 100% on the best setting.
The paper curls after printing. Too much ink on paper that’s too thin. Move up to 105gsm, and lay prints flat under a book for twenty minutes while they settle.
Ink smudges when I cut. You’re cutting too soon. Give inkjet prints ten to fifteen minutes, colours also deepen slightly as they dry.
Designs print smaller than expected. “Fit to page” is switched on somewhere in the dialog. Set scale to 100% or “Actual size”.
A quick word on usage rights:
Digital cliparts are for your personal crafting, journals, cards, gifts. Most shops, ours included, don’t allow re-selling or re-sharing the digital files themselves, and that includes uploading them anywhere others can download them.
If you want to sell handmade items made with a clipart set, check the shop’s licence. Many sellers happily allow small-scale handmade use. When in doubt, just message the seller, we love hearing what people are making anyway.
Frequently asked questions:
What’s the difference between JPG and PNG cliparts?
A JPG is a flat sheet with a background; a PNG has a transparent background, so you can arrange elements yourself before printing. For paper journaling either works, PNG just gives you more control.
Do I need a special printer for digital cliparts?
No. A basic home inkjet on “High quality” gives lovely results. Laser printers work too and never smudge, though inkjet often looks softer and more vintage.
What’s the best paper for junk journal printables?
Around 105gsm (28lb) matte is the sweet spot, sturdy enough to handle glue, thin enough to fold and layer. Cream paper in that weight is the single best upgrade for vintage styles.
Why do my printed colours look different from the screen?
Screens emit light while paper reflects it, so prints almost always come out slightly darker and warmer. Print one sampler page first, and remember a little muting actually suits junk journaling.
Can I resize cliparts before printing?
Yes. Drop the image into a blank Word, Docs or Canva page, drag a corner handle to resize, then print at 100%. Shrinking is always safe; enlarging past the original size makes the image fuzzy.
How many times can I print a set I bought?
As many times as you like, for your own use. That’s the real value of digital sets, one purchase, unlimited pretty paper.
How do I stop wasting ink?
Print elements rather than full-page backgrounds, use draft mode for background layers and high quality only for focal pieces, and print a small sampler before committing to a full sheet.
Can I print cliparts at a copy shop instead?
Absolutely, and it’s often cheaper than replacing ink cartridges. Take the PDF on a USB stick, ask for matte paper around 105gsm, and tell them to print at 100% with no scaling.
Do I have to cut everything out by hand?
No, though most people enjoy it. A cutting machine can handle PNGs with transparent backgrounds if you have one, but small scissors and an evening podcast work perfectly well, and cost nothing.
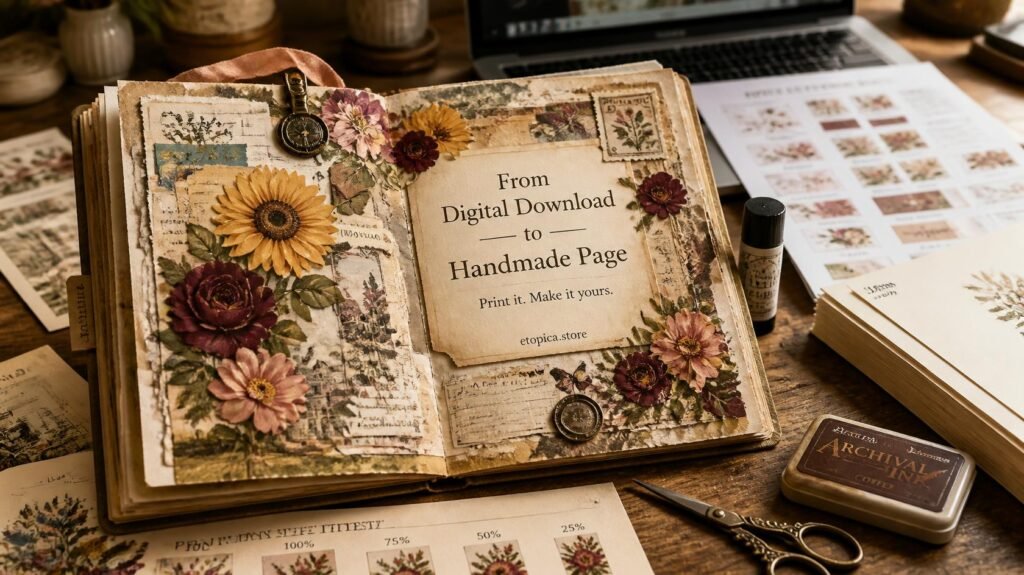
Your clipart starter project:
Tonight: pick one clipart set, print a single sampler page on cream paper, fussy-cut three elements, ink the edges, and make one page with the three-layer formula.
Total time: about 30 minutes. Total pages you’ll actually want to make once you start: significantly more than one.
Never journaled before? Begin with How to Start a Junk Journal, and pair your prints with free layering material from 10 Supplies You Already Have at Home. ♡
Our Etsy shop is full of adorable printable cliparts — birthday boys & girls, sweet animals, summer and spring themes — designed to print at home and layer straight into your journal.
Browse the Clipart Shop ↗
Leave a Reply