Let me start by saying something important: there’s no such thing as “ruining” a junk journal page. Really. Whatever you’re worried about right now, it can be covered with another piece of paper.
But there are a few little bumps almost every beginner hits, I certainly did. Knowing these junk journaling mistakes ahead of time will save you a bit of frustration, and quite a lot of money. So here’s the friendly heads-up I wish I’d had, one gentle mistake at a time, with the fix right beside it.
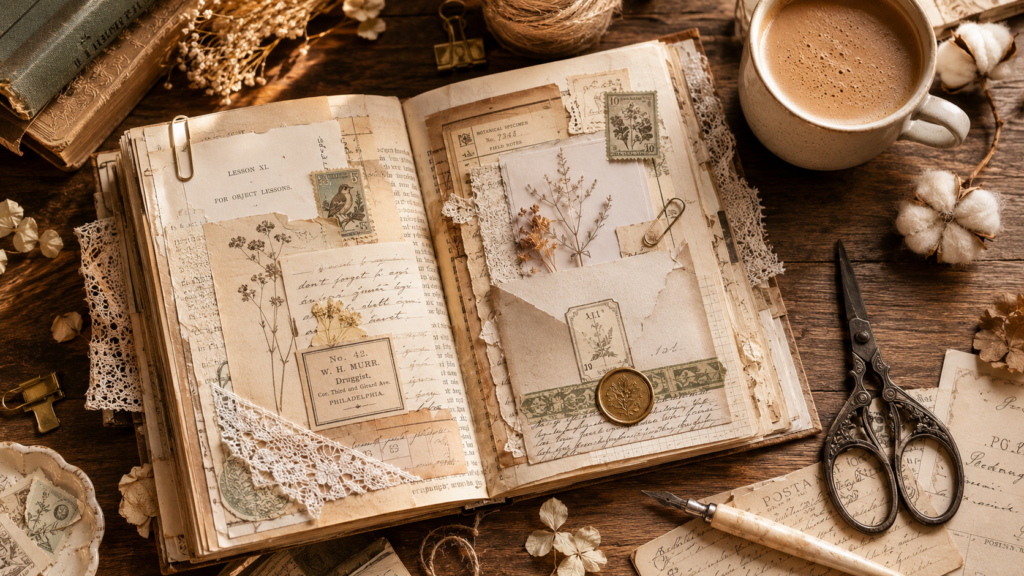
1. Buying way too much, too soon:
It’s tempting to fill a basket with washi tape, stamp sets and stickers on day one. The photos online make it look like you need a whole craft room before you can begin. Please don’t do it.
Here’s what actually happens: you spend $80 in one excited afternoon, then discover you hate stamping and love layering, and $60 of it sits unused in a drawer for years. Almost every experienced journaler has that drawer.
The fix: start with a notebook, a glue stick and household scraps. Make ten pages. Your own pages will tell you what you keep reaching for, and then you can buy that one thing with total confidence.
2. Waiting to feel ready:
You will never feel ready. Not after ten tutorials, not after a month of collecting supplies, not after buying the perfect notebook you’re now too scared to open.
The pages you’re comparing yourself to were made by people with years of practice. You’re seeing their five-hundredth page and holding it against your first, which isn’t a fair fight, and was never going to be.
The fix: make a deliberately messy first page today. Glue one scrap onto one page and close the book. That’s it. The first page exists to get itself out of the way.
3. Cutting everything with scissors:
This is the single most common reason a beginner’s page looks flat and modern when they wanted soft and vintage, and almost nobody spots it themselves.
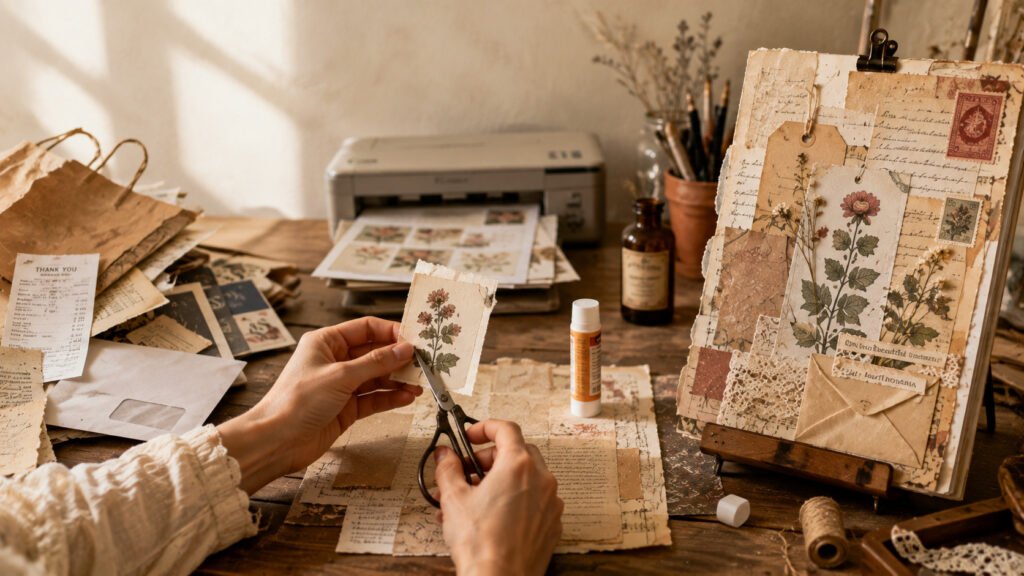
Crisp scissor-cut edges create hard lines. Every piece stays visually separate, sitting on the page rather than melting into it. Torn edges do the opposite: the fibres feather out, catch the light, and blend one layer into the next.
The fix: tear your paper instead. Tear slowly, towards yourself, and let the edge be uneven. Save scissors for fussy-cutting around images, where a clean outline actually helps.
4. Using the wrong glue:
Too much liquid glue wrinkles thin paper, leaves lumps under your layers, and takes forever to dry. Many beginners assume their paper is the problem when the glue was the problem all along.
Different jobs want different glue. A plain glue stick handles almost everything in a junk journal. Liquid glue and tape runners are for heavier pieces, card, fabric, trims, anything with weight to it.
The fix: buy one decent glue stick (around $2) and treat it as your default. If a page still wrinkles, you’re using too much, a thin, even layer is plenty.
5. Trying to copy someone else exactly:
It’s lovely to be inspired. But chasing an exact copy of someone’s page will only make you feel behind, because you don’t have their supplies, their papers, or their fifteen years of muscle memory.
You’ll get halfway, notice it doesn’t look the same, and quietly decide you’re not good at this. That’s not a skill problem, it’s a materials problem plus an unfair comparison.
The fix: take one idea from a page you love, a color pairing, a layout, a technique, and build your own page around it with your own scraps. Your journal is supposed to look like you.

6. Being afraid of empty space:
Beginners tend to cram every inch, partly because empty space feels like an unfinished job. But a page with something on every millimetre gives the eye nowhere to rest, and everything competes for attention.
Look closely at pages you admire and you’ll notice quiet areas, a plain patch of background, a margin left alone, a corner with nothing happening.
The fix: leave one area of the page deliberately quiet. It’s what makes your focal point actually read as the focal point.
7. Overworking a page:
The close cousin of mistake six. Sometimes we keep adding “just one more thing” until the page feels heavy and muddy, and we can’t work out why we’ve stopped liking it.
It usually happens when a page isn’t working and we try to fix it by adding. Adding rarely fixes it. Stopping does.
The fix: when in doubt, stop a touch earlier than you think you should. Close the book, walk away, and look again tomorrow. You can always add later, you can’t easily subtract.
8. Forgetting to write anything:
This is the mistake people regret most, and it takes years to notice.
You make beautiful pages, and three years later you flip back and can’t remember what any of it was about. The prettiest spread in the world becomes truly precious with a few words: a date, a feeling, where a scrap came from, what was happening that week.
The fix: add one line per page, even if it’s just the date. Write on a tag, tuck a note in a pocket, or scribble in a margin. Future-you will treasure it far more than the layering.
9. Comparing your page one to someone’s page five hundred:
Social media only shows the highlights. Nobody posts their wobbly first attempt, their muddy page, or the spread they gave up on halfway through.
What you’re scrolling past is a curated best-of, often photographed in good light with a full supply cupboard just off-camera.
The fix: measure your progress against your own last page, not a stranger’s best work. Flip back to your first page every few weeks, the improvement is genuinely startling, and far more motivating than any tutorial.
10. Thinking you need “special” things to start:
You don’t. The entire craft was built on using what was already around, that’s not a budget compromise, it’s the actual aesthetic. Found materials look better because they’re mismatched and real.
The fix: raid your recycling before you raid a shop. And if you’d like an easy way to add a sweet focal point without buying physical supplies, printable cliparts are perfect, print, cut and tuck them in, as many times as you like from one purchase. You can grab ready-to-print sets in our Etsy shop whenever you’re ready.
The big one to remember: in junk journaling, covering up a “mistake” is literally a technique. Don’t like something? Glue another layer over it. Mistakes become backgrounds, that’s not a consolation prize, it’s how the craft works.
Three “mistakes” that aren’t mistakes at all:
Beginners also worry about plenty of things that are completely fine, so let’s clear those up too.
Your pages look nothing alike. Good. A junk journal isn’t meant to be a matching set. The variety is part of the charm, and your style will emerge on its own without you forcing it.
You haven’t finished a page in weeks. Also fine. Pages built slowly over several sittings often end up richer, because you return with fresh eyes and add things you’d never have thought of in one go.
Your journal is getting fat and won’t close. That’s not a flaw, a bulging junk journal is a well-loved one. Add a ribbon or elastic tie around it and carry on.
Frequently asked questions:
Can you actually ruin a junk journal page?
No, and this is the honest answer, not a kind one. Every “ruined” page can be covered with another layer, torn out, folded over, or glued to the page beside it to make one thick spread. The technique for fixing mistakes is simply more junk journaling.
Why does my junk journal page look flat or messy?
Nearly always one of three things: you cut everything instead of tearing, you skipped the middle layer so pieces sit directly on the background, or you filled every inch and left no quiet space. Try tearing your next page’s edges and leaving one corner empty — the difference is immediate.
What is the most common beginner mistake?
Buying too much, too soon. It’s the one that costs real money, and it usually happens before you’ve discovered what you actually enjoy. Ten pages made from free materials will teach you more about your own style than any shopping trip.
How many supplies do I really need to start?
Two things you almost certainly own: something to work in, and something to stick with. Everything else, the papers, the ephemera, the texture, can come from your recycling, your post pile and your kitchen for months.
Should I plan a page before I start it?
You don’t have to, and most people don’t. Lay a few pieces down loosely without gluing, shuffle them until something feels right, then stick them down. Planning tends to make beginners freeze; arranging keeps you moving.
Is it bad to leave pages unfinished?
Not at all. Plenty of experienced journalers keep several pages half-built at once and add to whichever one suits their mood. An unfinished page is just a page you haven’t got to yet.
How do I stop comparing my journal to others online?
Mute or unfollow anything that makes you feel behind rather than inspired, it’s your feed, and you’re allowed to curate it. Then photograph your own first page and keep it somewhere you’ll see it. Your progress is the only fair comparison available.
Do I need to know how to draw?
No. Junk journaling is arranging, not drawing. You’re choosing which existing pieces go together and where, that’s genuinely creative work, and it requires no drawing ability whatsoever.
Be gentle with yourself:
Every single one of these is completely normal, and not one of them can actually spoil your journal. Make the page, learn the little thing, and move on smiling.
The people whose pages you admire made all ten of these mistakes too. They just made them a few hundred pages ago, off camera, in a book nobody ever saw. That’s the whole difference.
Ready for your first page? Here’s the step-by-step: How to Start a Junk Journal. Or if the tearing-and-ageing part is what’s tripping you up, try How to Age & Distress Paper. ♡
Our Etsy shop is full of adorable printable cliparts — birthday boys & girls, sweet animals, summer and spring themes — designed to print at home and layer straight into your journal.
Browse the Clipart Shop ↗
Leave a Reply