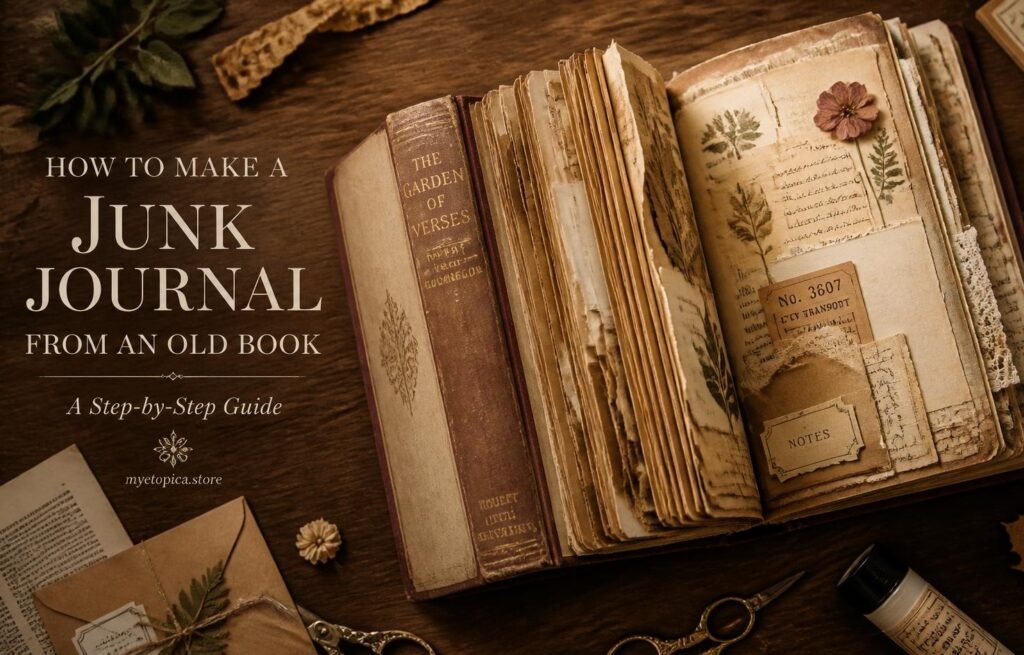
Of every way to start a junk journal, this is the one that makes people gasp a little when they see it finished: an old hardback, its spine still intact, its cover doing all the hard work, and inside, pages you’ve filled with your own scraps and stories. It’s also, honestly, one of the easiest ways to begin, because the book has already solved your binding problem for you. No punching, no sewing, no measuring a cover to size, just a book that already knows how to open and close.
This method sits at the heart of what junk journaling is really about, too. You’re not buying a blank product designed to be filled; you’re rescuing something that already had a life, and giving it a second one. That’s part of why old-book journals photograph so beautifully and pin so well, the story is built in before you’ve glued down a single scrap.
Step 1: Choose the right book:
You want a hardback with a sewn (not glued) spine, check by opening it flat in the middle; sewn spines show visible thread or fabric tape along the fold, while glued (“perfect bound”) spines show a flat strip of adhesive instead. Old encyclopedias, outdated textbooks, atlases and worn novels from a charity shop are perfect. Avoid anything with sentimental or resale value; this book is about to be permanently altered, and there’s no undoing that decision once you’ve started cutting.
Tip: a book roughly 200–400 pages thick gives you enough bulk to remove pages without weakening the spine, and enough left over to actually decorate. Thinner books work too, but you’ll have less room to remove pages before the spine feels fragile.
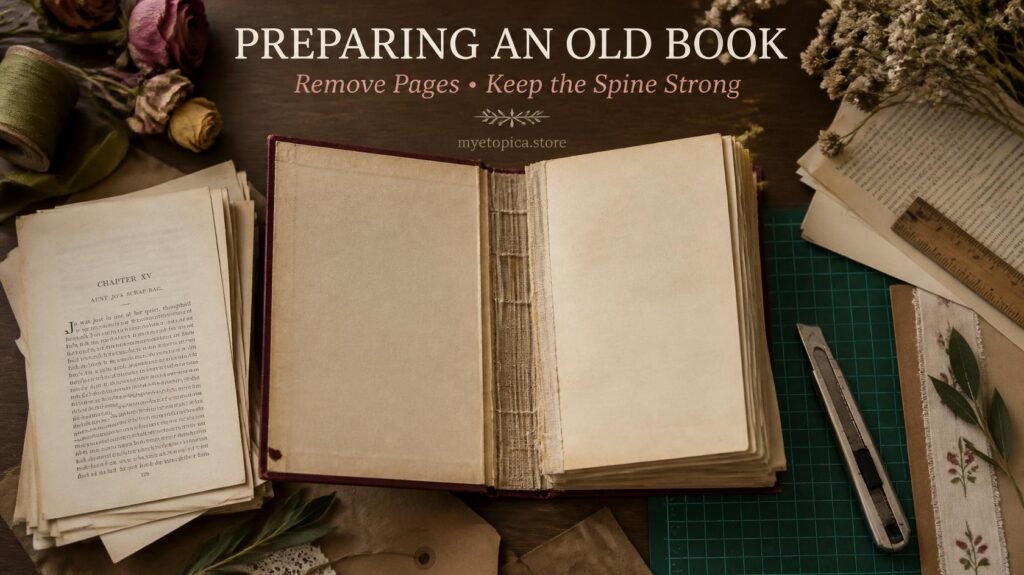
Step 2: Remove some of the original pages:
You don’t need to take every page out, usually a third to half is plenty. Cut (don’t tear) pages out close to the spine using a craft knife, working in small sections rather than all at once, so the remaining structure stays supported. Leave enough pages that the book can still close normally, and check every few cuts that the covers still meet flush.
You’ll need: a sharp craft knife or box cutter, a cutting mat, and a steady, well-lit surface, this step rewards patience more than speed.
Step 3: Reinforce the spine (optional but worth it):
If you’ve removed a lot of pages, run a thin line of PVA glue along the inside of the spine and let it dry flat overnight, weighted down with a heavy book on top. This isn’t required for a lightly-altered book, but it saves a loose spine on a heavily-thinned one, and it’s much easier to do now than after you’ve already glued in your first few spreads.
Step 4: Prep the remaining pages:
Some journalers glue two or three remaining pages together to make a sturdier base for heavier embellishments; others leave every page single for a lighter feel. Either is correct, it depends how much you plan to glue onto each spread. If you know you love chunky, layered pages with fabric and buttons, gluing pages in pairs now will save you frustration later.
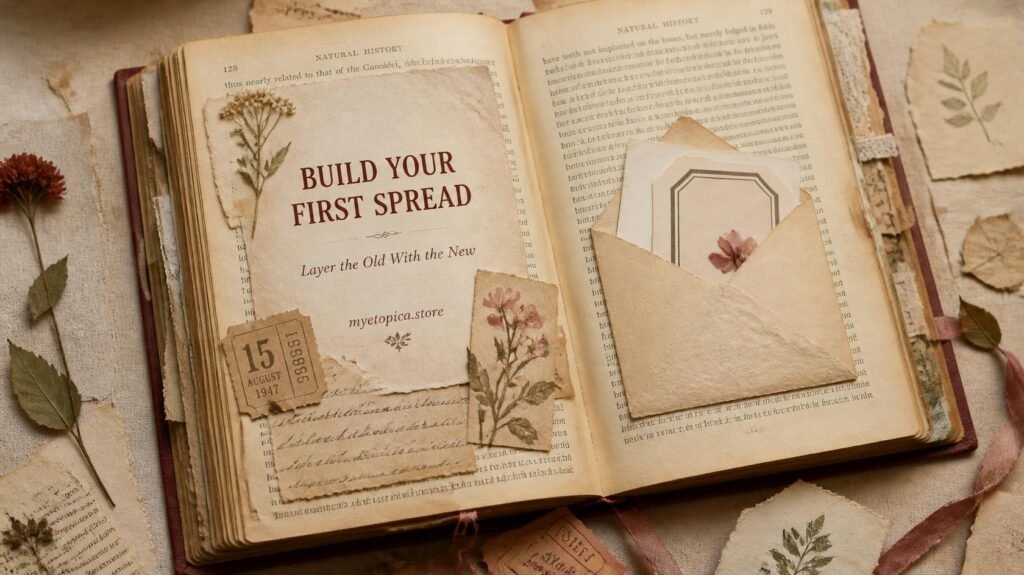
Step 5: Build your first spread:
Start on a middle page rather than the first one, it takes the pressure off “starting the book properly,” and nobody will ever know it wasn’t page one. Glue down a piece of vintage-style paper as a base layer, then add your first small element: a pressed flower, a ticket stub, a clipping. The original book text peeking out from underneath is part of the charm, don’t cover it completely, and don’t feel you need to hide every trace of the book it used to be.
Step 6: Add pockets and tuck spots as you go:
Because you’re working with an existing book block, pockets are especially easy, glue three sides of an envelope or folded paper directly onto a page, leaving the top open. These become the spots where loose ephemera lives: a folded note, a pressed leaf, a small tag you want to keep separate from the glued-down layers.
Step 7: Decorate the cover last:
Leave the cover for the very end, once you’ve got a feel for your colour palette from the inside pages. A worn hardback cover often needs nothing more than a label, a ribbon tie, or a single pressed leaf glued to the front. Resist the urge to fully cover a beautiful original cover design, sometimes the best decoration is knowing when to leave something alone.
What makes this method different from starting with blank paper?
| Old book method | Blank paper method |
| Binding already done for you | You choose or make your own binding |
| Built-in vintage texture and text | Texture added by hand (tea-staining, ink) |
| Fixed page size and thickness | Full control over size and paper weight |
| Best for a vintage, layered aesthetic | Best if you want a specific colour theme |
Where to find a good book to alter?
Charity shops, library sales and thrift stores are the best sources, and often the cheapest, a dollar or two for a book nobody else wants is standard. Look specifically in the discard bins rather than the shelved sections; librarians often price withdrawn stock to move quickly. Old dictionaries, atlases, and outdated reference books are ideal because their content is rarely needed anymore, so you won’t feel guilty altering them, and their thicker paper often ages beautifully.
Common mistakes to avoid:
The most common early mistake is cutting too many pages out at once, which can leave the spine sagging before you’ve even started decorating, remove pages gradually and check the book’s structure as you go. The second is gluing wet, heavy elements onto thin book paper without reinforcement, which can cause pages to warp or tear; a light layer of gesso or a scrap of sturdier paper underneath solves this. The third is trying to cover every inch of the original text immediately, which uses up your best material before you’ve found your style, leave some pages sparser so you have room to grow into the journal.
Once your book is ready for spreads, printed ephemera saves a lot of scissors-and-glue time, vintage-style labels, botanical clippings and paper scraps sized to fit a book page are in our Etsy shop.
Frequently asked questions
1- Do I need to remove pages before I start decorating?
Not always, if the book is thin already, you can journal straight onto the existing pages without removing any. Removing pages just creates room for thicker additions like fabric, buttons or folded inserts.
2- What if the spine feels loose after cutting pages?
A thin line of glue along the spine, clamped flat overnight, fixes most looseness. If it’s still fragile, stick to lighter, flatter embellishments so you’re not putting stress on the spine, and avoid opening the book fully flat until it’s had time to settle.
3- Can I use a paperback instead of a hardback?
You can, but the spine won’t hold up as well to repeated opening once it’s filled with glued layers. A hardback with a sewn spine is worth seeking out if you plan to use the journal often rather than as a one-off keepsake.
4- Is it okay to keep some of the original book’s illustrations?
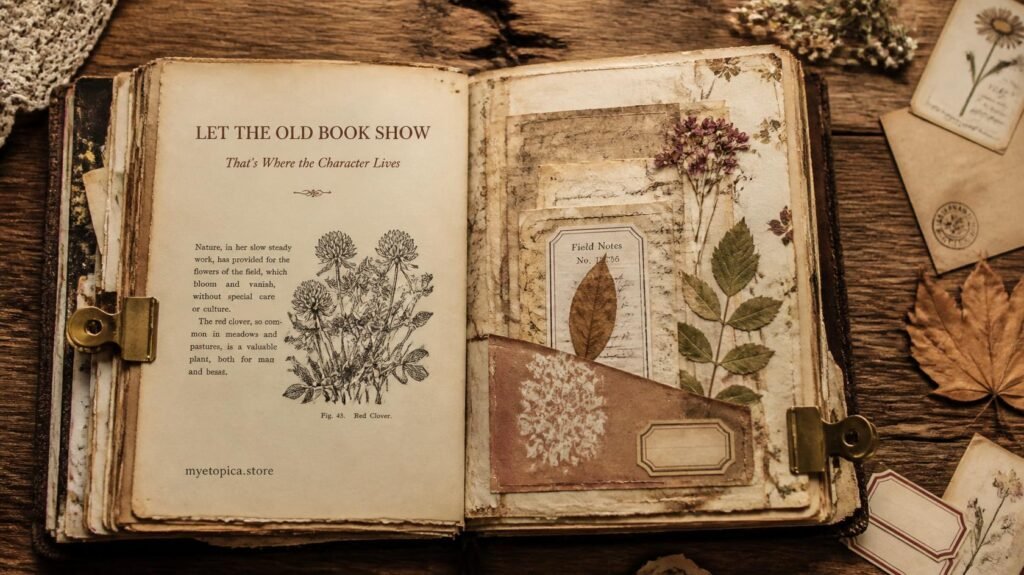
More than okay, original illustrations, diagrams and even chapter headings make lovely background layers. Work around them rather than covering every page edge to edge, and let a few pages stay almost untouched so the book’s original character still shows through.
5- How do I stop new pages from sticking together while glue dries?
Slip a sheet of wax or parchment paper between wet pages and close the book gently, or use clothes pegs along the edge while it dries flat. Leaving the book slightly open, propped on a folded towel, also helps air reach the glued area.
6- What if I don’t have a craft knife?
Sharp scissors work for most pages, though they’re harder to control right at the spine. If you only have scissors, cut a little further from the spine than you’d like, then trim closer once you’re confident with the first few cuts.
7- How is this different from the “repurposed book” binding method?
They’re the same core idea, this guide is simply the fuller, step-by-step version. See it mentioned briefly in our no-sew binding ideas if you want the short summary alongside other no-sew options.
Not sure which binding suits your very first attempt? Compare this against our other junk journal binding methods, or start from the very beginning with How to Start Your First Junk Journal. ♡
Our Etsy shop is full of adorable printable cliparts — birthday boys & girls, sweet animals, summer and spring themes — designed to print at home and layer straight into your journal.
Browse the Clipart Shop ↗
Leave a Reply