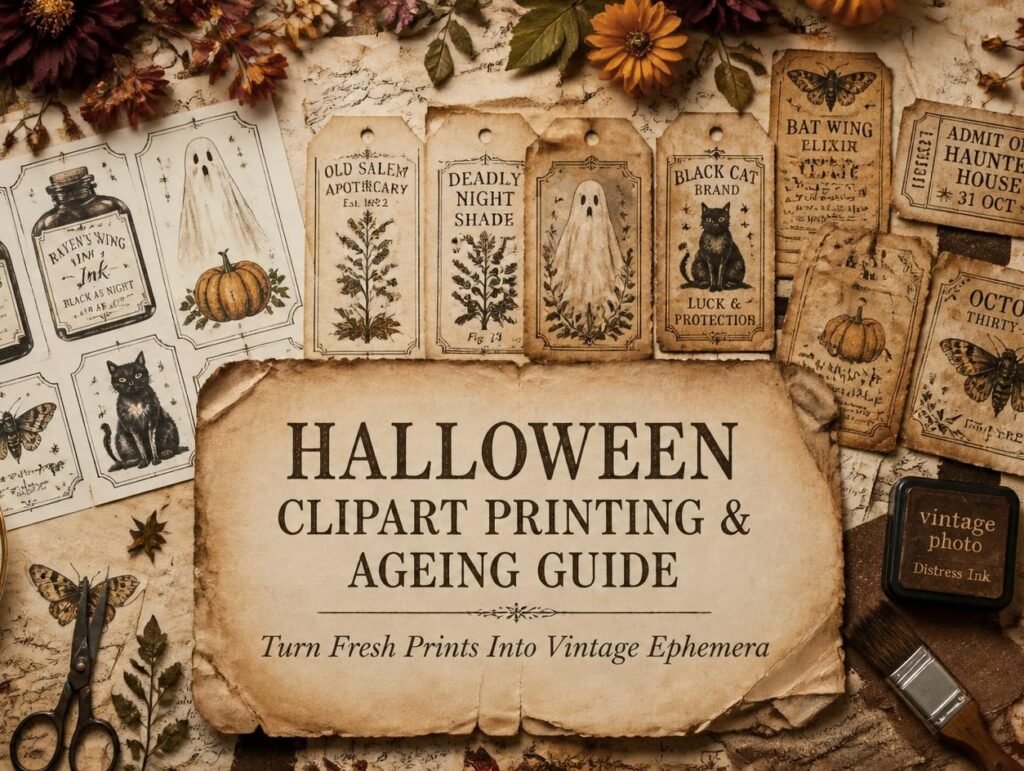
Here’s the thing nobody warns you about when you print your first Halloween set: it comes out of the printer looking brand new.
Crisp white edges. Bright, even colour. Paper that’s obviously been in a printer eleven seconds ago. And on a page built from tea-stained book pages and brown kraft, that freshness sticks out badly.
The good news is that fixing it takes about four seconds per piece. This guide covers the whole workflow for Halloween junk journal printables, what to print on, what settings to use, and six ageing techniques that turn a fresh printout into something that looks like it was found in a drawer in 1912.
If you only do one thing: ink the edges. Drag every cut piece across a brown ink pad. It is the single highest-impact step in this entire article, and it costs you nothing but a few seconds.
Don’t print the whole set
Most people open a Halloween set and print every page. Then they have forty elements, use six, and feel guilty about the ink.
Print a sampler page first, one page with a handful of elements at different sizes. Make one spread with it. You’ll learn very quickly which pieces you actually reach for, and you can print those properly afterwards.
For Halloween specifically, the pieces that get used most are the small ones: labels, tags, little ghosts, moths, bottle shapes. The big showpiece illustrations look wonderful in the listing photo and often sit unused, because a junk journal page rarely has room for one.
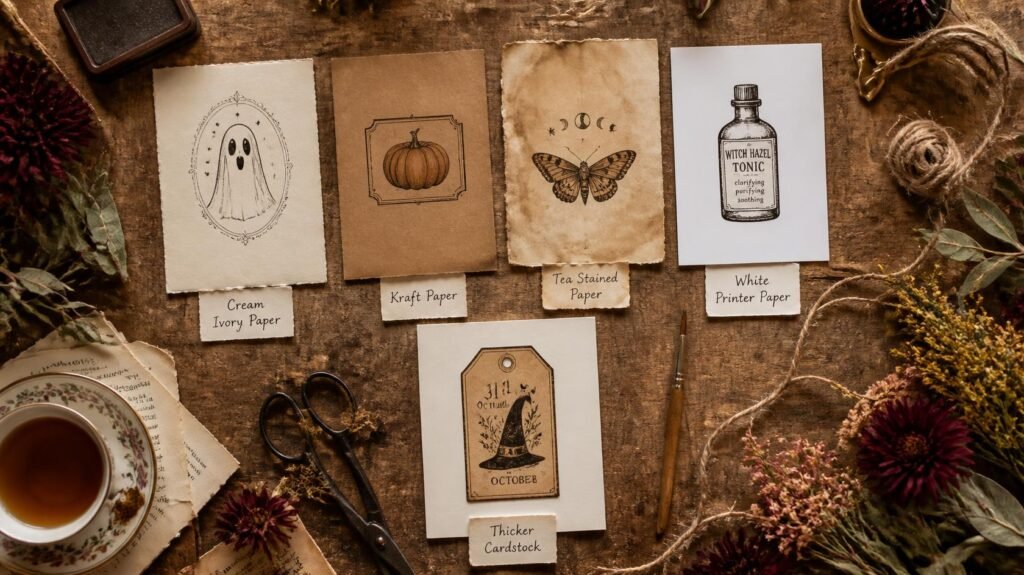
Choose your paper first, this matters more than anything
The colour of the paper you print on does more ageing work than any technique you apply afterwards.
| Paper | Result | Best for |
| Cream / ivory | Instantly vintage, no work needed | Almost everything, start here |
| Brown kraft | Colours go muted and earthy | Labels, tags, apothecary pieces |
| Tea-stained printer paper | Uneven, genuinely old, looking | Letters, documents, ephemera |
| Plain white 80gsm | Too fresh, needs ageing | Backgrounds you’ll cover anyway |
| 105gsm matte | Sturdy, holds glue well | Focal pieces and tags |
Never use glossy paper. It reflects light, repels glue, resists ink, and looks plastic beside aged paper. There is no Halloween page that gloss improves.
A note on kraft paper: printing on brown kraft mutes everything, because the ink has to fight the paper colour. That’s usually a feature, not a bug, it drags bright orange straight into rust territory for free. Just avoid it for pieces that need to stay pale, like ghosts.
Print settings that actually matter
- Scale: 100% or “Actual size”. Turn off “fit to page”, it silently shrinks everything, and a set designed to work together stops matching.
- Quality: Best or High. Draft mode leaves visible banding, which looks like a printing fault rather than age.
- Tell the printer your paper. Selecting “matte photo” or “cardstock” in the dialog slows the feed and lays ink differently. It genuinely reduces smudging on heavier paper.
- Print three sizes of everything you like. Large for focal points, medium for layering, tiny for filling gaps. One sheet, three scales, it triples what a set gives you.
Should you print in greyscale?
For Halloween, sometimes yes. A colour Halloween sheet printed in greyscale gives you soft grey elements that work beautifully as background layers, and it uses a fraction of the ink. Print one sheet in colour and one in greyscale and you effectively have two sets.
The six ageing techniques:
This is the part that turns printables into ephemera. Work in this order, each step builds on the last.
1. Ink the edges (4 seconds, biggest impact)
Cut your piece out, then drag each edge across a brown ink pad. Don’t be neat about it. Let the ink creep slightly onto the front in places.
Why it works: real old paper is darker at the edges because that’s where hands touched it and dust settled. Your brain reads that instantly as age, without knowing why.
2. Tea or coffee wash (10 minutes, mostly waiting)
Brush cooled strong tea over the printed piece with a soft brush. Tea gives warm sepia; instant coffee gives redder, rustier tones, better for pumpkins and harvest pieces.
Critical for inkjet: let prints dry at least 15 minutes before any liquid touches them, or the ink will bleed. Laser prints are safe immediately.
3. Crumple and flatten (30 seconds)
Scrunch the piece into a loose ball, open it out, and flatten it under your hand. Then rub a brown ink pad lightly across the surface, the ink catches only on the raised creases, leaving a web of fine dark lines.
This is the best technique for labels and tags, and it’s the one that most convincingly says “this has been handled for decades.”
4. Candle wax resist (2 minutes)
Rub a plain candle stub over parts of the paper before you apply a tea wash. The waxed areas repel the liquid, leaving pale ghostly patches while everything around them darkens.
Beautiful for backgrounds, and it produces marks that look like water damage rather than a craft effect.
5. Sanding (1 minute)
Rub fine sandpaper very lightly over the printed surface, concentrating on edges and corners. The ink lifts slightly, giving that worn, rubbed-thin look you see on genuinely old labels.
Go gently, a few passes is plenty. It’s easy to go through the paper entirely.
6. Singeing the edges (careful)
Holding an edge briefly near a candle flame gives you the darkened, curled edge that looks properly antique.
Please be sensible about this one. Work over a sink or a metal tray, keep a bowl of water beside you, tie back long hair and sleeves, and never do it near your journal or your paper stash. Small pieces only, held with tweezers. If you’re at all unsure, skip it, a heavy brown ink edge gets you most of the way there safely.
Making labels and bottle tags look genuinely old
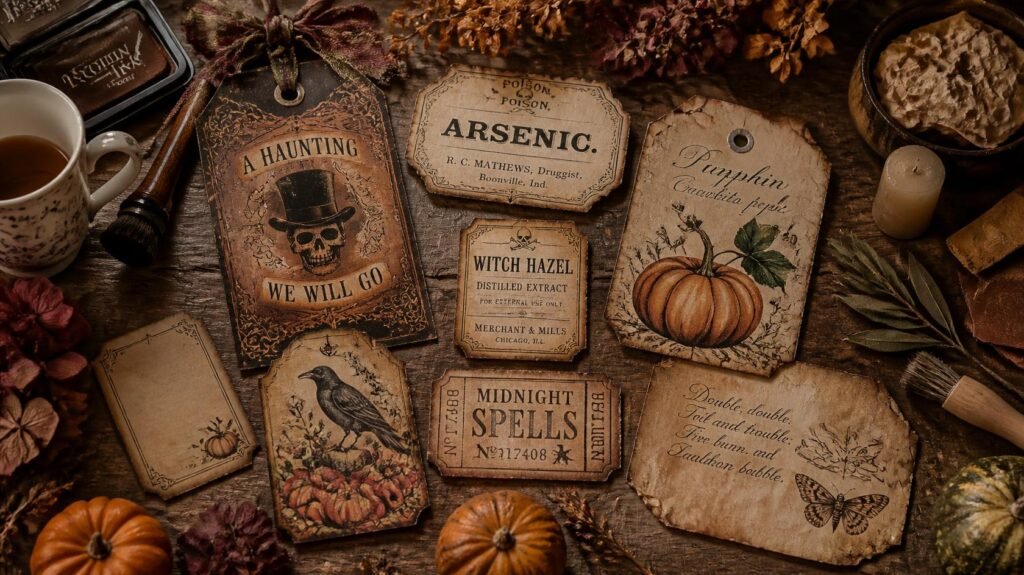
Halloween sets usually include apothecary labels, and they’re the pieces most worth spending time on.
The full treatment takes about three minutes per label: print on cream, cut with slightly uneven edges rather than perfectly straight ones, crumple and flatten, ink heavily around all four sides, then hand-write over the printed text in brown ink so the handwriting sits on top of the design.
That last step is what sells it. Printed text alone looks printed. Printed text with a shaky handwritten addition looks like something a person used.
If you’d like ready-made Halloween pieces to work with, bottles, labels, moths, ghosts, pumpkins, our sets print at home and cut down in minutes. Have a peek in our Etsy shop.
Cutting for Halloween pages
Three approaches, and Halloween uses all of them:
- Fussy cutting, for focal pieces like ghosts, cats and moths, where a clean silhouette matters.
- Rough cutting, a small border left around labels and tags, like old die-cut scraps.
- Tearing, for documents, letters and background pieces, so the soft edges melt into your layers.
For Halloween, tear more than you’d think. A torn edge inked brown is the fastest route to “found in an attic”.
Five problems and their fixes
Prints look too bright next to my papers. Ink the edges, then a weak tea wash over the whole piece. Print colours are almost always the loudest thing on a page.
The ink smudged when I brushed tea on. Inkjet, applied too soon. Wait 15 minutes next time — colours also deepen slightly as they dry.
The paper curled after printing. Too much ink on paper that’s too thin. Move to 105gsm, and press prints flat under a book for twenty minutes.
Black areas look flat and dead. Pure black print has no warmth. A light brown ink wipe over black areas gives them depth immediately.
Everything printed smaller than expected. “Fit to page” is switched on somewhere. Set scale to 100%.
Frequently asked questions
What paper should I use for Halloween printables?
Cream or ivory around 105gsm is the best all-rounder, it does half the ageing before you start. Brown kraft is excellent for labels and tags, and plain white is fine for anything you’ll age heavily anyway.
How do I make printed cliparts look old?
Ink the edges first, then add a tea or coffee wash, then crumple and re-ink if you want more. Those three steps in that order handle almost everything, and take about a minute per piece.
Will tea staining ruin my inkjet prints?
Only if you rush. Let prints dry for at least 15 minutes and the ink sets well enough to survive a gentle wash. Laser prints can be washed straight away.
Can I print Halloween cliparts on black paper?
Home printers can’t print white, so anything pale will simply vanish. Instead, print on cream and glue it onto black card, you get the contrast without fighting your printer.
How much ink will a Halloween set use?
Less than you fear, if you print elements rather than full-page backgrounds. Use draft mode for background layers, best quality only for focal pieces, and get your dark tones from black card rather than printing large black areas.
How many times can I print a set I bought?
As many as you like for your own crafting. That’s the real advantage over physical stickers, one purchase, unlimited pieces, across every journal you ever make.
What’s the fastest way to age a piece if I’m impatient?
Ink the edges and crumple it. Twenty seconds, no drying time, and it takes a fresh printout about eighty percent of the way there.
Do I need a special printer?
No. A basic home inkjet on high quality is perfect, and its slightly softer output actually suits vintage styles better than laser. Laser is more convenient if you like wet ageing, because it never smudges.
Can I sell journals made with printable cliparts?
Check the licence on the set you bought. Most sets, ours included, are for personal crafting, but many sellers happily allow small-scale handmade use if you ask. Never re-share or resell the digital files themselves.
Print one page tonight
Pick one sheet. Print it on cream paper at 100%, best quality. Cut out three pieces, ink every edge, crumple one of them, and glue all three onto a tea-stained background.
Twenty minutes, and you’ll have a Halloween page that looks nothing like a printout, which is the whole point of this article.
Need ideas for what to make with them? Try 20 Halloween Junk Journal Ideas or pick your colours first with Halloween Colour Palettes. For the full printing workflow beyond Halloween, see How to Use Digital Cliparts. ♡
Our Etsy shop is full of adorable printable cliparts — birthday boys & girls, sweet animals, summer and spring themes — designed to print at home and layer straight into your journal.
Browse the Clipart Shop ↗
Leave a Reply