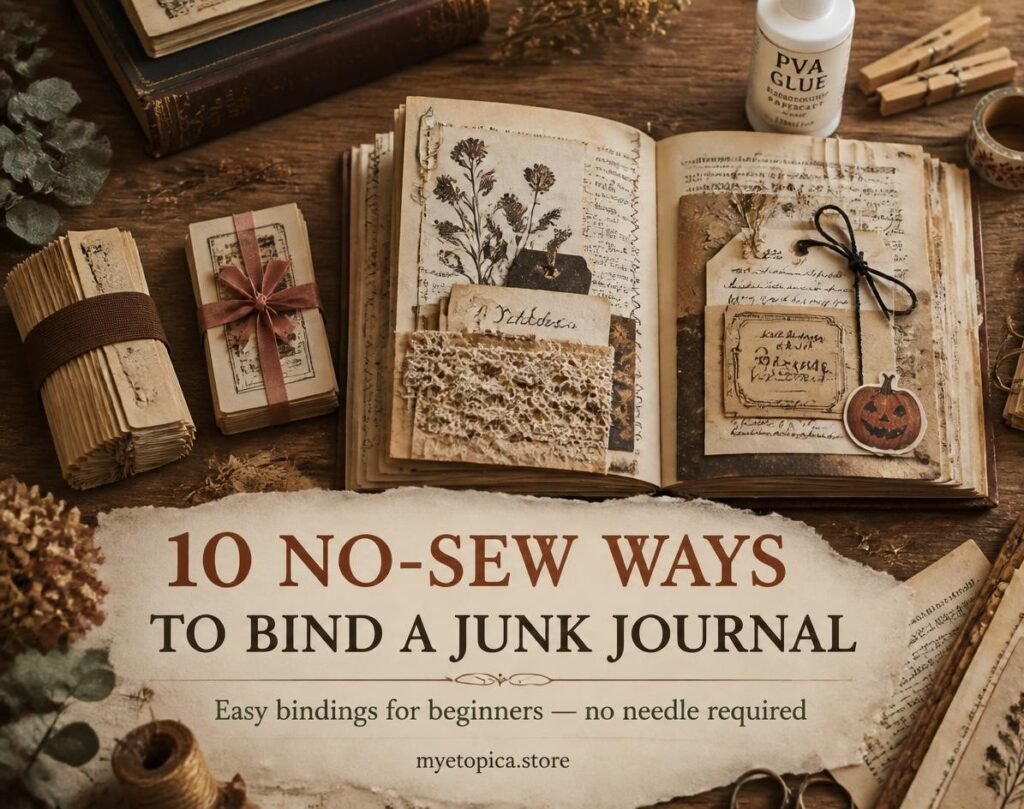
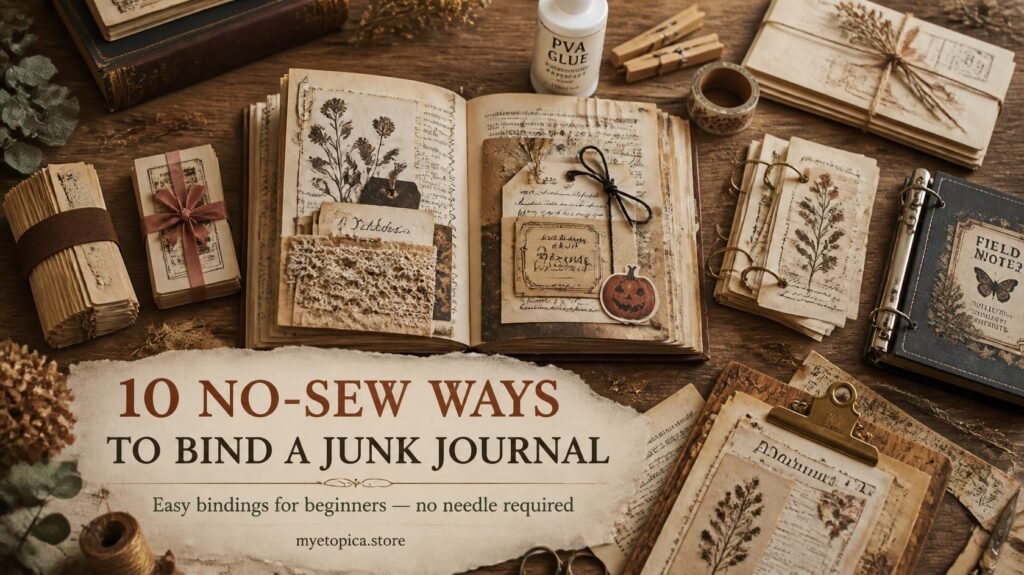
“How to Bind a Junk Journal” is one of our most-saved posts, and almost every message we get about it says the same thing: “I don’t own a needle and thread, and sewing scares me a little.” Fair enough, bookbinding stitches look like a skill you need years to learn, and nobody wants their very first journal to feel like homework. So here are ten ways to hold a journal together that never touch a needle, some sturdier than others, all genuinely doable tonight, with your kitchen table as your only workspace.
Quick reassurance: a journal doesn’t need to survive a hundred years. It needs to hold together while you use it. Several of these methods are meant to be temporary, and that’s not a flaw — it’s a feature. A journal you finish and love beats a “perfect” binding you never start.
1. The elastic band spine:
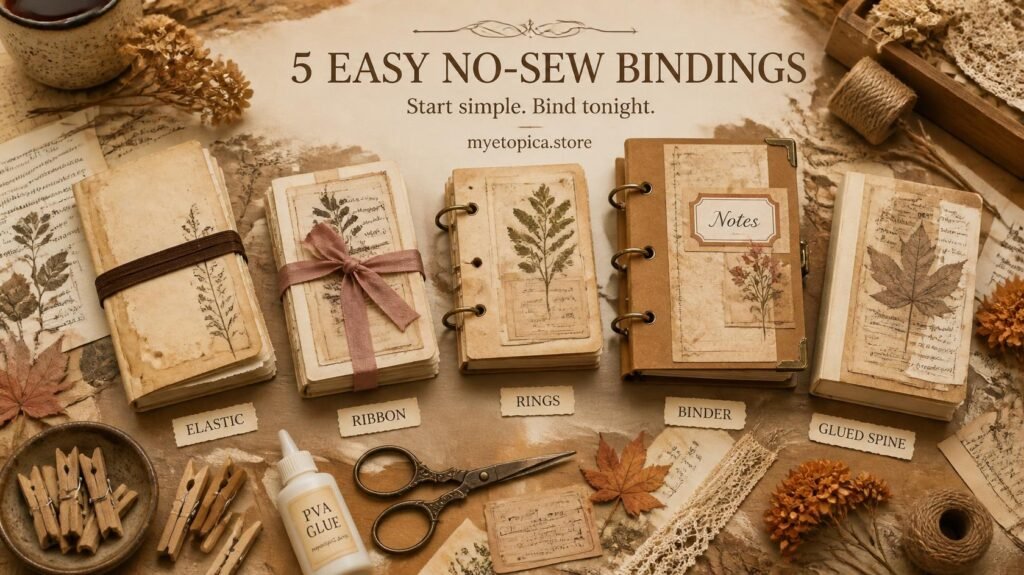
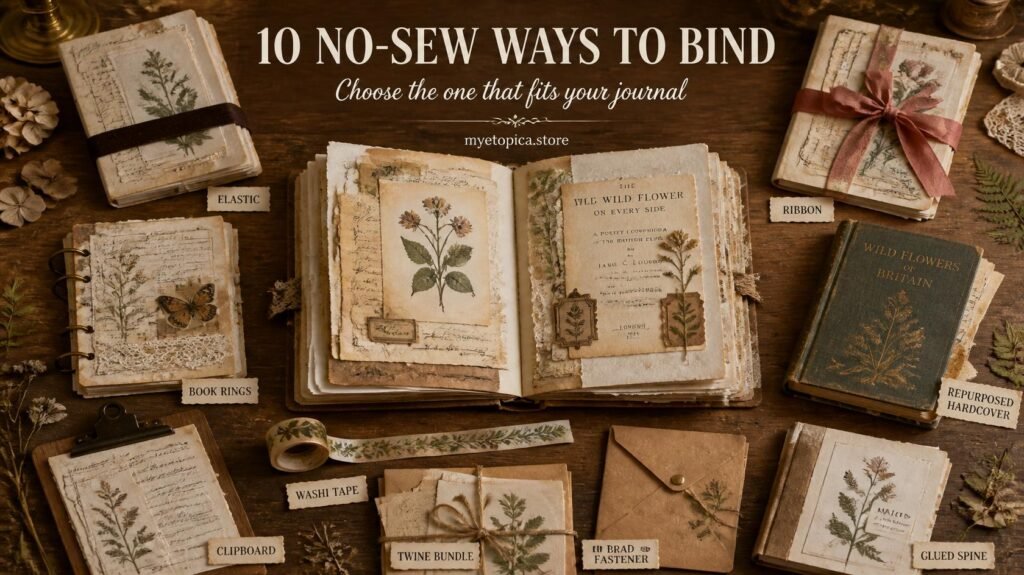
Fold your stack of pages, wrap a thick elastic or hair tie around the fold, and you’re done. It’s the fastest binding on this list, and you can slide pages in or out whenever you like, which makes it forgiving if you change your mind about page order halfway through.
You’ll need: folded paper, one sturdy elastic.
Common mistake: using a thin, worn-out elastic. It’ll snap within a week of regular use. A thick hair tie or a proper bookbinding elastic band lasts far longer.
2. Ribbon-tied signatures:
Same idea as the elastic, but a length of ribbon tied in a bow along the spine. It looks intentional rather than makeshift, and it’s easy to undo if you want to add pages later. Choose a ribbon in a colour that matches your cover for a pulled-together look with zero extra effort.
3. Book rings through punched holes:
Punch two or three holes down the left edge and thread book rings (or key rings) through them. This is the sturdiest no-sew option here, pages open flat and rearrange endlessly, which is perfect if you like reordering your spreads as your journal grows.
You’ll need: a hole punch, book rings.
Why it works so well: unlike glued or elastic bindings, rings distribute stress evenly across every hole instead of one stretched point, so pages stay attached even after heavy handling.
4. A repurposed three-ring binder cover:
Strip an old binder down to just the rings and cover, then punch your journal pages to fit. Instant structure, and the stiff cover doubles as protection for your ephemera. This is a brilliant option if you already have a spare binder gathering dust in a cupboard.
5. Glued spine (the padded-book method):
Stack your pages, clamp them tight, and run a thin layer of PVA or fabric glue along one edge. Let it dry flat overnight. It’s how sketchbooks are made commercially, and it holds up better than people expect, the trick is a thin, even layer rather than one thick blob.
You’ll need: PVA glue, clothes pegs or heavy books to clamp.
Common mistake: gluing before your pages are perfectly aligned. Tap the stack firmly on a table to square every edge before you clamp, or your finished spine will look ragged.
6. The folder-and-fastener journal:
A simple two-pocket folder with a brad fastener down the spine turns into a journal instantly, no punching, no gluing. Great for a first attempt or a themed mini journal you want to finish in a weekend. The folder’s existing pockets are also a free head start on tuck spots.
7. Washi tape spine binding:
Line your pages up, then run a strip of wide washi or duct tape down the spine, folding it over both sides. It’s decorative and functional at once, and it takes under two minutes. For extra strength, layer two strips of tape back to back so the spine has some rigidity rather than flopping.
8. The envelope stack:
Instead of binding flat pages, fill a stack of envelopes with your ephemera and tie the whole bundle with string or a ribbon. It’s less a “journal” and more a treasure bundle, but it’s a favourite for people who love pockets more than pages, and it means every single spread is automatically interactive.
9. The repurposed book method:
Take an old hardback, remove some of its pages, and glue your own papers directly onto what’s left. The book’s own spine does all the structural work, you only decorate. This is a whole tutorial on its own; see the full old book junk journal guide for step-by-step photos and tips on choosing the right book.
10. The clipboard journal:
Not a traditional bind at all, clip a stack of loose pages under a decorated clipboard clamp. You add, remove and reorder pages in seconds, and there’s genuinely nothing to sew, punch or glue. It’s an especially good option if you journal in short bursts and like the idea of working on one page at a time, away from the rest of the stack.
Which no-sew method should you pick?
| Method | Sturdiness | Best for |
| Elastic / ribbon | Low | First attempt, testing the craft |
| Book rings | High | Journals you’ll rearrange often |
| Glued spine | Medium-high | A neat, book-like finish |
| Repurposed book | High | A vintage look with zero binding skill |
| Clipboard | Low | Loose-page collectors who hate commitment |
How long each method actually takes?
If you’re deciding between these based on how much time you have tonight, here’s the honest breakdown: elastic, ribbon and washi tape bindings take two to five minutes from a standing start. Book rings and the folder-and-fastener method take five to ten minutes, mostly spent on punching holes evenly. The glued spine needs about ten minutes of active work plus an overnight dry, so it’s better suited to a project you start today and finish tomorrow. The repurposed book method varies the most, a light version can be ready in twenty minutes, while a heavily-altered one might take an evening.
Whichever spine you choose, the pages inside are where the fun really starts. A printed set of vintage-style ephemera gives you a head start on your first few spreads, you’ll find ready-to-print pieces in our Etsy shop.
Frequently asked questions
1- Is a no-sew journal less “real” than a sewn one?
No. Plenty of long-time junk journalers never sew a single spine. The craft is about the pages, not the binding method, and a beautifully filled elastic-bound journal beats an empty, perfectly-stitched one every time.
2- Which no-sew method lasts the longest?
Book rings and a glued spine are the sturdiest on this list. Elastics and washi tape are better for shorter-term or practice journals that you don’t mind eventually retiring.
3- Can I switch from a no-sew binding to sewing later?
Yes, many people start with rings or elastic, then rebind a favourite journal properly once they’re comfortable with the pamphlet stitch. See our full binding methods guide when you’re ready, or try the more advanced Coptic stitch once you’ve built confidence.
4- What if my pages are different sizes?
Book rings and clipboards handle mixed sizes best, the pages just hang or clip at the same point regardless of their outer dimensions. Glued spines need trimmed, even edges to look neat, so save that method for pages you’ve already sized to match.
6- Do I need special tools for any of these?
A hole punch is the only slightly “special” tool here, and it’s under $5 almost anywhere. Everything else, elastics, ribbon, tape, glue, an old folder, is things most people already own.
7- Which method should I choose if I want to add pages later?
Book rings win here by a wide margin. Because pages simply thread on and off the rings, you can insert a new page anywhere in the stack without disturbing anything else, something none of the glued or taped methods allow.
8- Can these bindings hold thick, heavily-decorated pages?
Rings and the repurposed book method handle bulk best, since neither relies on a thin glued edge or a stretched elastic to carry the weight. If you know you love chunky, layered pages, start with one of those two.
9- Do any of these methods work well for a gift journal?
Ribbon-tied and book-ring bindings both photograph nicely and feel more “finished” than a plain elastic, which makes them good choices if you’re binding a journal to give away rather than keep for yourself.
10- Will a no-sew binding look less handmade than a sewn one?
Not really, a neatly tied ribbon or a row of matching book rings reads as just as intentional as stitching, especially once the cover and pages are decorated. Handmade charm comes from the whole journal, not from one specific technique.
New to the craft entirely? Start with How to Start Your First Junk Journal before picking a binding, it’ll help you decide how big or small to make your first attempt. ♡
Our Etsy shop is full of adorable printable cliparts — birthday boys & girls, sweet animals, summer and spring themes — designed to print at home and layer straight into your journal.
Browse the Clipart Shop ↗
Leave a Reply