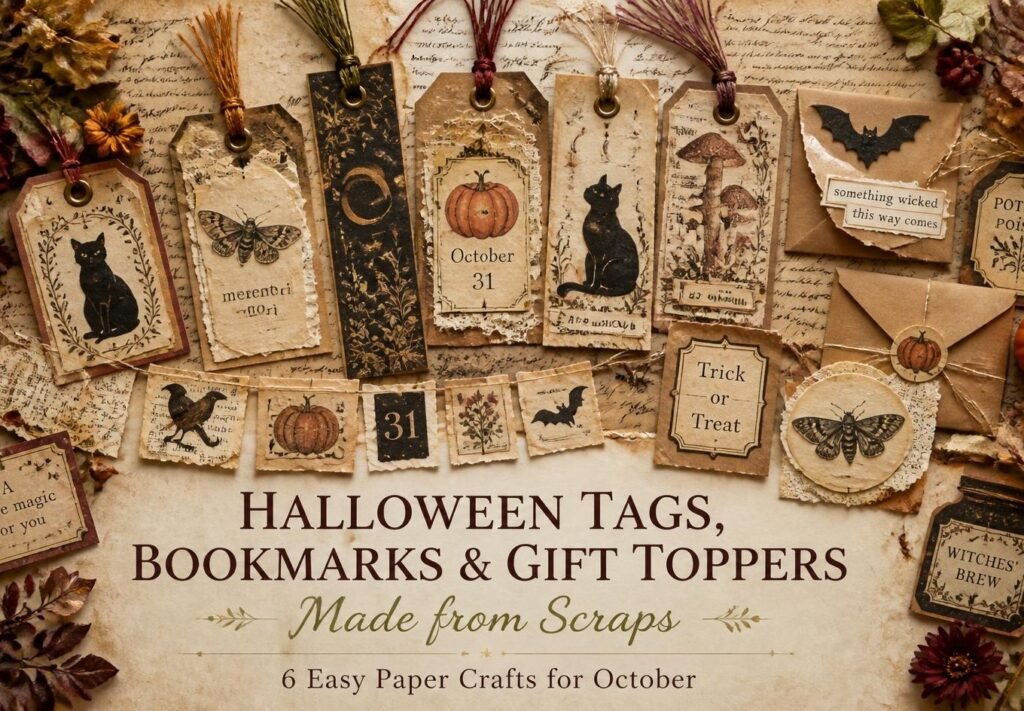
Every junk journaler ends up with the same problem: a box of scraps too pretty to bin and too small to use on a page.
October is when that box earns its keep. These six little projects each take fifteen minutes or less, use offcuts you already have, and give you something to hand to another person, which is more than most craft stashes ever manage.
All of them are Halloween paper crafts made from what’s already in your scrap box. Nothing here needs a single new supply beyond glue and a brown ink pad.
Make a batch, not one. Every project here takes almost the same time for six as it does for one, because the slow part is setting up. Six tags means you actually have some when you need them.
1. Layered Halloween tags (10 minutes for six)
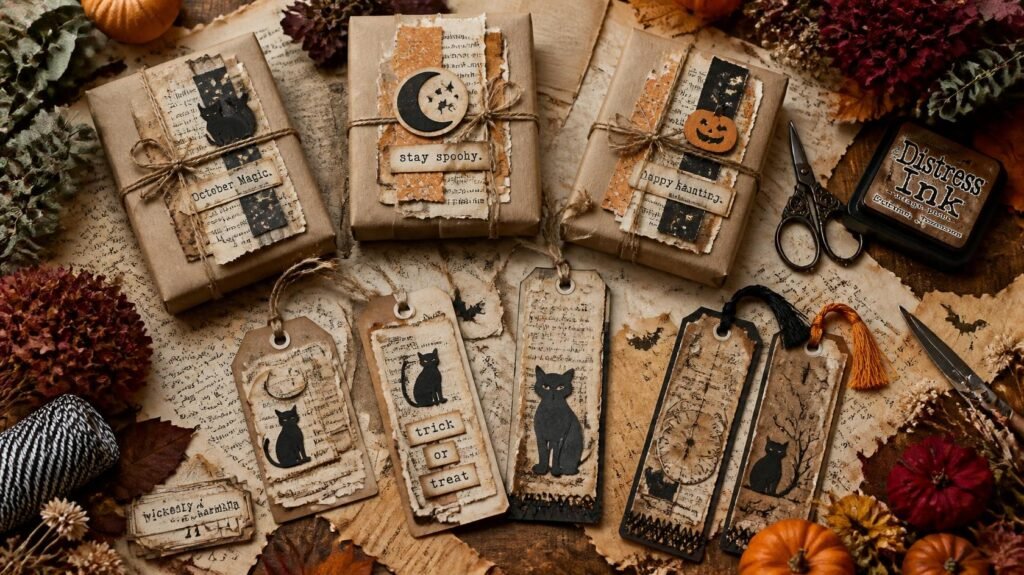
The workhorse. Use them on gifts, in your journal, tied to a jar, or tucked into a card.
- Cut rectangles about 5 × 9cm from cereal box card or heavy scraps.
- Cut the top two corners off at an angle to make the classic parcel-tag shape.
- Glue a slightly smaller piece of aged or patterned paper on top, leaving a border.
- Add one small element, a moth, a moon, a black cat silhouette, a label.
- Ink every edge heavily, including the layered paper’s edges.
- Reinforce the top with a small square of washi tape on the back, then punch the hole.
- Thread jute twine or a scrap of seam binding through.
That reinforcing step is the difference between a tag that survives and one that tears out the first time someone pulls it.
2. Vintage Halloween bookmarks (15 minutes)
The best of these projects to give away, because people genuinely use them.
Cut a strip roughly 5 × 18cm from stiff card. Cover both sides, one side an old book or dictionary page, the other something darker, kraft or tea-stained. Working both sides matters: a bookmark is seen from both directions.
Add a small motif near the top and a line of handwriting down the length: a short quote, a date, or just October.
Ink all four edges. Punch a reinforced hole at the top and add a tassel made from three lengths of embroidery floss folded in half and knotted through.
To make it last: cover both sides with clear packing tape, trimmed close. It’s not elegant, but a bookmark that lives in a bag needs it, and once inked and layered you barely see it.
3. Gift toppers (5 minutes each)
A gift topper is just a decorated strip that sits across a wrapped parcel, and it turns plain brown paper wrapping into something that looks considered.
Cut a strip of aged paper a little wider than the parcel. Layer one contrasting piece and one small motif onto it. Ink the edges. Glue or tape it across the wrapping.
Brown kraft wrapping paper with a muted Halloween topper and jute string is one of the best-looking wrapping combinations there is, and all three components are free.
4. A scrap garland (15 minutes)
The fastest way to use a genuinely large pile of offcuts.
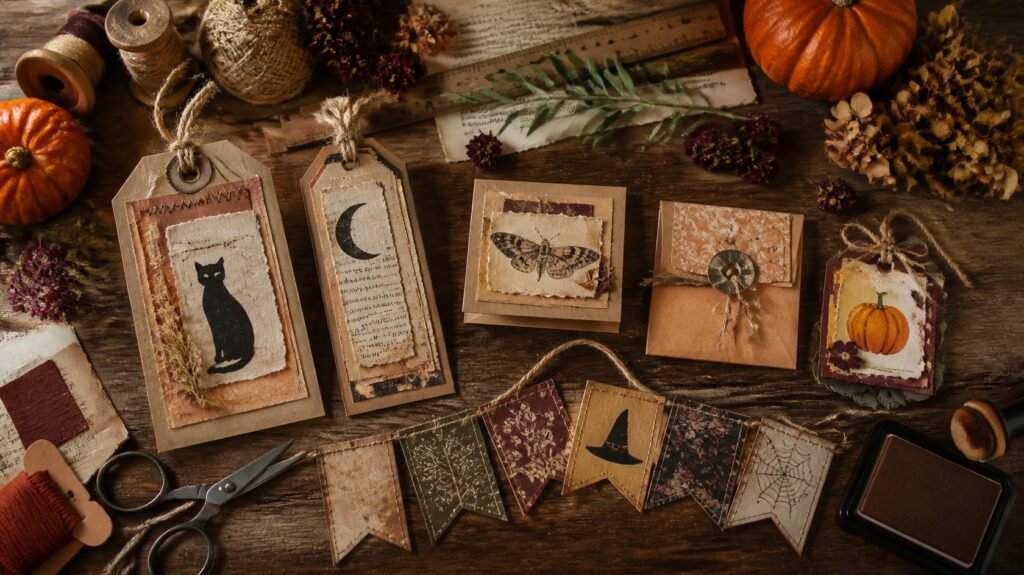
Cut twenty to thirty small shapes, squares, triangles, circles, torn rectangles, from every aged paper you have. Don’t aim for consistency; the mixture is the point.
Ink all the edges. Then lay them face-down in a line, run a length of twine across the top of each, and fold a small tab of each shape over the twine, gluing it down.
Hang it along a shelf, a mantelpiece or a bookcase. It looks like something from an old shop window, and it costs nothing at all.
5. Place cards and jar labels (10 minutes for six)
For anyone having people round in October.
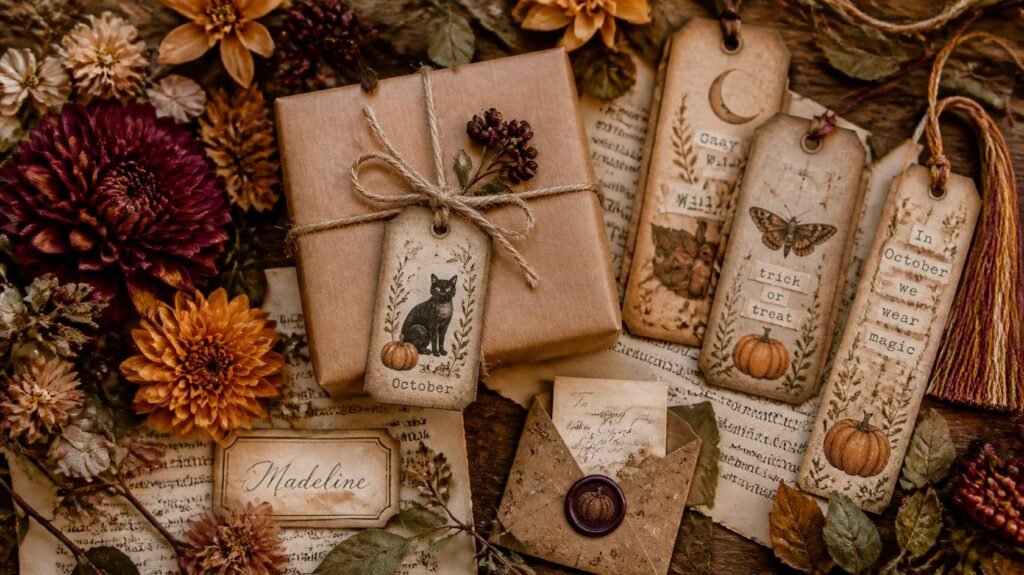
Fold small rectangles of card in half so they stand up. Age them, ink the edges, and write names in brown ink, small and slightly wonky, like an old ledger.
Same idea works as jar labels: a small aged rectangle glued or tied onto a jar, labelled in the apothecary style. Bitter Root on a jar of sweets is a very good joke that also looks beautiful.
6. Mini envelopes with a note inside (10 minutes)
Small enough to tuck into a journal pocket, a lunchbox or a card.
Cut a square of aged paper about 10 × 10cm. Fold three corners into the middle, overlapping slightly, and glue the two side flaps to the bottom one. The remaining corner folds down as the flap.
Ink all the visible edges. Write a short note on a scrap, fold it, and slip it inside. Seal with a small circle of paper as a wax-seal substitute.
How long each project takes
| Project | Time | Skill | Best for |
| Layered tags | 10 min for 6 | Easiest | Everything |
| Bookmarks | 15 min | Easy | Giving away |
| Gift toppers | 5 min each | Easiest | Wrapping |
| Garland | 15 min | Easy | Using up scraps |
| Place cards | 10 min for 6 | Easiest | Having people round |
| Mini envelopes | 10 min | Medium | Notes and gifts |
The four rules that make all of these look good
Every project above relies on the same handful of things. Get these right and it barely matters what you’re making.
Ink every edge. Without exception. A cut edge left pale is the single clearest sign of something homemade in the wrong way, and four seconds fixes it.
Layer at least twice. One piece of paper is a piece of paper. Two pieces with a visible border between them reads as designed.
Keep to one motif. A moth, or a moon, or a cat. Not all three. Small objects show clutter far more brutally than pages do.
Use string, not ribbon. Jute twine, garden string or seam binding suits aged paper. Satin ribbon looks new beside it, every time.
If you’d like ready-made motifs to cut down for these, moths, bottles, ghosts, labels, our Halloween sets print at home in minutes. Have a peek in our Etsy shop.
If your scrap box is empty
Everything above assumes you have offcuts. If you’re just starting, here’s a week’s worth of free material without leaving the house or spending anything.
- Brown parcel paper and paper bags, the single most useful material for all six projects
- Cereal and biscuit boxes, free card, and the printed side never shows once covered
- Envelopes from the post, patterned security linings inside, plus stamps
- A damaged old book, charity shops sell them for coins; endless aged pages
- Tissue paper from deliveries, layering and garland shapes
- Clothing tags, literally pre-made tags with string attached
- Plain printer paper, tea-stain it and it becomes anything you need
That list makes every project on this page. The only thing genuinely worth buying is a brown ink pad.
Turning them into a small gift
Three or four of these together make a proper present, and it costs almost nothing.
A bookmark, three tags and a mini envelope with a note inside, tied with jute twine and wrapped in a square of brown paper, is a lovely thing to hand someone in October. Add a small aged label on the front with their name in brown ink.
It’s the sort of gift that looks like it took much longer than it did, which is, honestly, most of what this craft is good for.
What to do with them
Small paper things accumulate quickly and then sit in a drawer, so decide in advance.
Keep a few tags in your journal’s back pocket for whenever a page needs one. Give the bookmarks away, to whoever lends you books, to a teacher, tucked into a card. Use the toppers on any parcel you post in October. Hang the garland where you’ll see it. And keep two place cards back for next year, because you’ll forget you made them and be delighted.
Frequently asked questions
What paper should I use for Halloween tags?
Cereal box card is the classic free base, sturdy, free, and it takes glue well. Cover it with aged paper, kraft or book pages so the printed side never shows.
How do I stop tag holes tearing out?
Stick a small square of washi tape or a scrap of card over the spot on the back before you punch. It takes five seconds and roughly triples how long the tag survives.
Can I make these without a hole punch?
Yes. Push a pencil point through onto a folded towel and twist gently, or skip the hole entirely and glue the string to the back of the tag.
How do I make bookmarks that don’t bend?
Use stiff card as the base, cereal box or the back of a notepad, and cover both sides so it doesn’t curl. Clear packing tape over both faces makes it genuinely hard-wearing.
What can I use instead of ribbon?
Jute twine, garden string, embroidery floss, or strips torn from an old cotton shirt. All of them suit aged paper better than satin ribbon does.
Are these suitable to make with children?
The tags, garland and place cards especially. Skip anything involving fine cutting and let them do the inking, children apply ink pads with a generosity that genuinely improves the result.
How do I make them look vintage rather than homemade?
Ink the edges, layer twice, and use string rather than ribbon. Those three habits do almost all the work on small paper items.
Can I sell things I make with printed cliparts?
Check the licence on the set you bought. Many sellers, ourselves included, are happy to allow small-scale handmade use if you ask, but never re-share or resell the digital files themselves.
Empty the scrap box tonight
Tip it out, sort the offcuts into rough colour piles, and make six tags. Ten minutes, no plan needed, and you’ll have something ready for the next time a page or a parcel needs finishing.
The scraps have been waiting for a job. This is it.
Want pages to use these on? See 20 Halloween Junk Journal Ideas. To age your scraps first, read How to Age Paper for a Haunted, Antique Look, and for labels to add, Apothecary Labels & Potion Tags. ♡
Our Etsy shop is full of adorable printable cliparts — birthday boys & girls, sweet animals, summer and spring themes — designed to print at home and layer straight into your journal.
Browse the Clipart Shop ↗
Leave a Reply